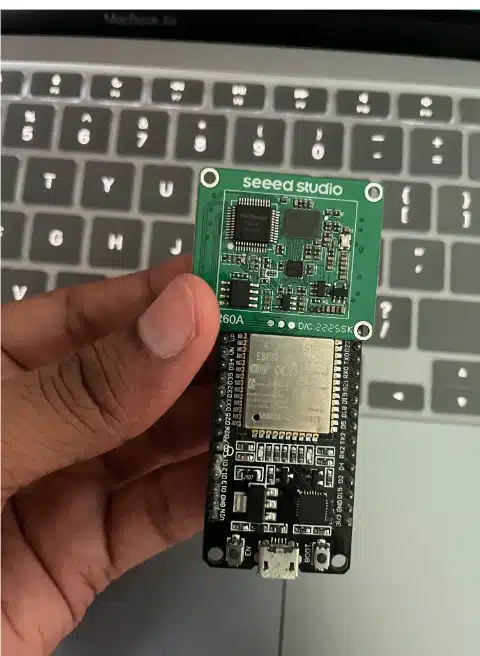
We developed an innovative solution – a contactless Heart and Pulse Rate Monitoring Sensor for ventilators and spirometers.
Say goodbye to the inconvenience of attaching wire-based pulse sensors and spirometers to patients’ bodies, which restrict their movements and limit portability.
By utilizing mm-wave radar technology, we have developed a portable and non-intrusive system that accurately measures heart and respiration rates without physical contact with the patients. No more wires or attachments are required, allowing for seamless and comfortable health data monitoring anytime, anywhere.
Discover the future of healthcare technology with our contactless sensor, ensuring patient comfort and safety while maintaining accurate health data measurements.


Bill of Materials
| Components | Quantity | Description | Price approx INR |
| MR60BHA1 RADAR | 1 | 60Hz mmWave radar | 4000 |
| FTDI Programmer | 1 | USB to FTDI | 100 |
| ESP32 | 1 | Dev Baord | 400 |
| Total | 4500 |
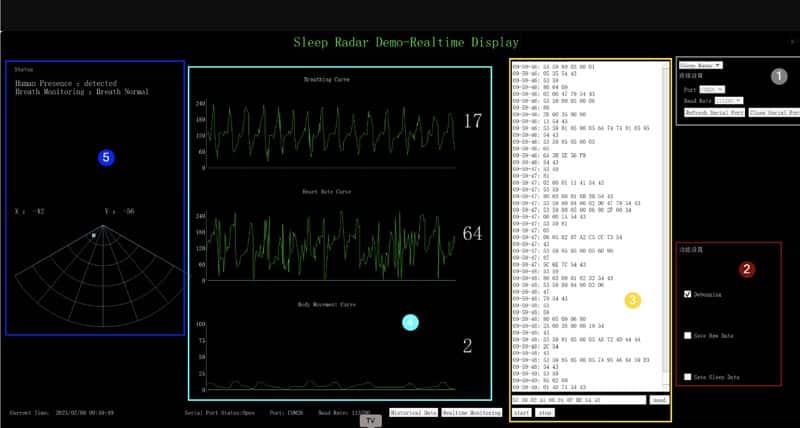
Transforming your laptop into a real-time ventilator health data display is easily achievable using Windows PC with a built-in radar sensor. The radar sensor seamlessly connects to the pre-installed software, providing direct access to the data.
To get started, follow these simple steps:
- Download the upper computer software on your Windows PC.
- Connect the Radar to the FTDI USB module, refer to the table for the appropriate connections.
- Additionally, for real-time data display, integrate the ESP32 microcontroller. Program it to fetch and showcase the health data on the serial monitor.
By following these instructions, your laptop will be fully equipped to display real-time ventilator health data effortlessly.
Circuit Diagram
| FTDI | RADAR |
| RX | TX |
| TX | RX |
| 5V | 5V |
| GND | GND |

Now open the upper software and select the COM port and it will start showing the respiration data and the heartbeat with the graphs in real-time like you see in the ventilator sensor.
Coding
To enable real-time monitoring, saving, and displaying of data on the serial monitor, follow these steps:
- Download the RADAR library from the provided link.
- Add the downloaded library by clicking on “Sketch” → “Include Library” → “Add .ZIP Library” option.
- Include the RADAR library in your code.
- Define the serial port pin to which the RADAR is connected.
- In the setup function, open the serial port with a baud rate of 115200 to establish communication with the RADAR.
- In the loop function, continuously read data from the RADAR and display it on the USB serial port.
Here’s the code structure to achieve this:

DIY Heart and Pulse Rate Monitoring Device – Testing
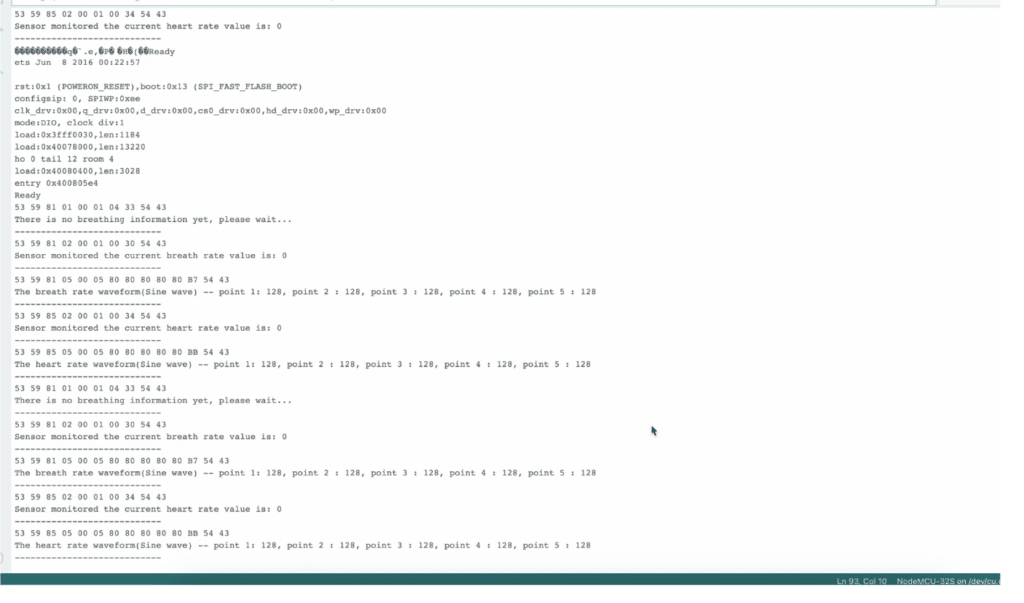
Now power the device with USB and open the serial monitor, you can see the results.


