If you are an electronics hobbyist and need to measure low currents and low voltages, you can buy any inexpensive multimeter. However, test leads of such meters are fragile. That’s what led me to make my own multimeter test leads from readily available material. These test leads cost you almost nothing as the required material, except wires, must be already available with most of you. Note that these test leads work fine for low voltages only.


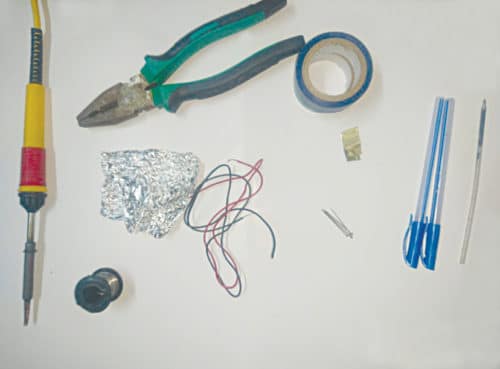
Material required for Constructing Multimeter Test Leads
1. Two empty ballpoint pen tubes
2. Wires
3. Refill
4. Aluminium foil
5. Two steel pins
6. Insulation tape
7. Soldering iron (used to connect wires to steel pins)
The construction of these multimeter test leads is easy and super fast. Read more to do it yourself:
The process
Plug design
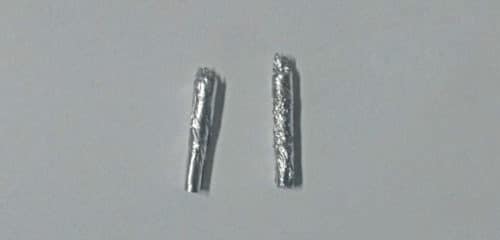
Cut two 2 centimetre long pieces from the ballpoint pen refill so that these can be inserted into ports of the multimeter. These refill pieces will act as plugs. As the refill is made of a plastic material, cover the refill pieces with aluminium foil to provide conduction.
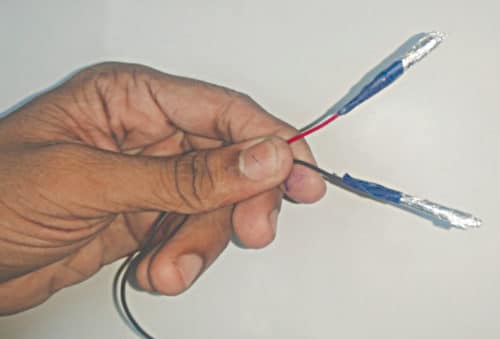
Using some insulation tape, affix one end of black and red wires to the refills, respectively; these wires represent common (ground or negative) and positive probes.


Probe and tip design
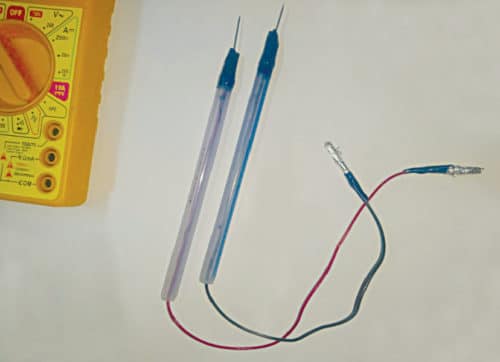
Use empty pen tubes as probes, and steel pins as tips. Insert other ends of wires through the pen tubes and connect them to steel pins with the help of a soldering iron. Affix the ends with the help of a insulation tape.

Testing
Test the leads to ensure that these work. Now you are good to go!


