 Environmental pollution has become a major problem in today’s world. Its increase is affecting our health badly, especially in urban and semi-urban areas where we are exposed to harmful gases emitted from automobiles and factories. In such a situation, we need a reliable device that can help us in analysing the changes caused by environmental pollution.
So for today’s project, we are going to make a device that can effectively measure quality of air and pollutant level as well as noise pollution and send that data to the cloud. This device is also capable of creating a local mesh network either with Bluetooth/WiFi or by Device Cloud, which enables us to accurately monitor environmental pollution.
Materials Required
- Particle Argon
- MQ135 air sensor
- SEEED loudness sensor
- SSD1306 OLED display
- 3-5V battery
- A plastic case/box for keeping the final device.
Note: For creating mesh nodes, you need multiple number of the above components.
Coding
First, setup your Particle Argon for mesh network and WiFi connection.To do so, follow the instructions provided in Particle’s website.
After completing the initial setup, you may begin with the coding. There are two options for programming the Particle Argon: you can either write the code offline and upload it using USB or write the code online and upload it with the help of OTA (Over The Air).
For offline coding, you will need to install Particle Workbench that you can download from Particle’s official download page. Here we are using the Particle Web IDE (online).
If you are also using the Particle Web IDE, then after logging in, click on the library icon that’s on the left hand side (that is below the code icon). Then search the following libraries and include them in your code.
- Adafruit GFX
- SSD1306 OLED display
- MQ135
In the first part of the code, we initialise the above libraries and create different variables for storing pin input number and sensor values. Then we set the Particle System Mode to ‘automatic’ and System Thread to ‘enabled’. (Refer Fig 1.)

Set the Bluetooth characteristic and UUID (Universally Unique Identifier) so that we can publish the sensor data. (Refer Fig 2.)

After that we create a setup function for setting up the pin modes for input/output and also for Bluetooth connection. (Refer Fig 3.)
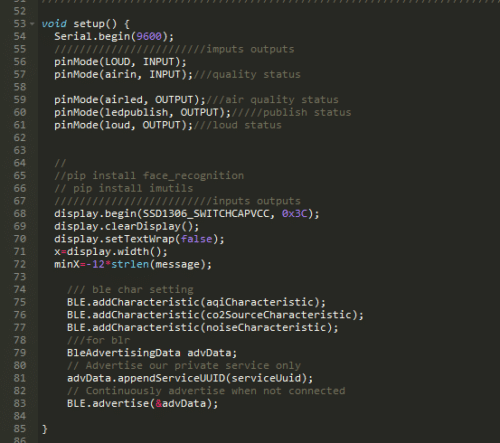
Finally, we create a loop function that will call various other functions. (Refer Fig 4.)

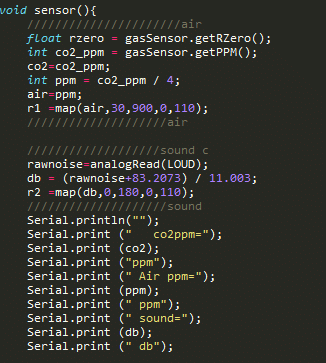
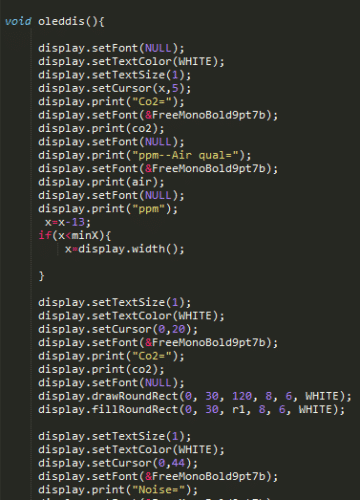
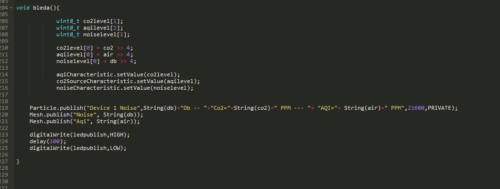
Now upload the code using OTA.
Connection
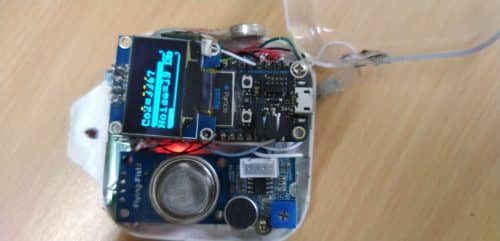
After uploading the code, connect the pins of the Particle Argon with components as described in the table below.
| Particle Argon | Components |
| VCC 3V pin | VCC pin of all sensors, +ve terminal of LED and Piezo/Motor |
| GND | GND pin of all sensors, -ve terminal of LED and Piezo/Motor |
| A1 | Analog out pin of loudness sensor |
| A4 | Analog out pin of MQ135 sensor |
Attach a 3.v Battery in battery port of particle argon.Fix all the components in a box.
Testing
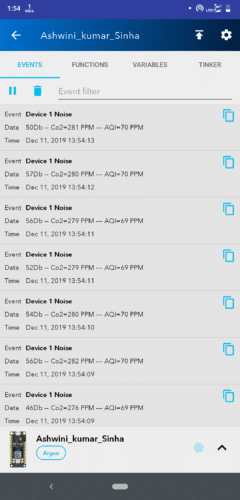
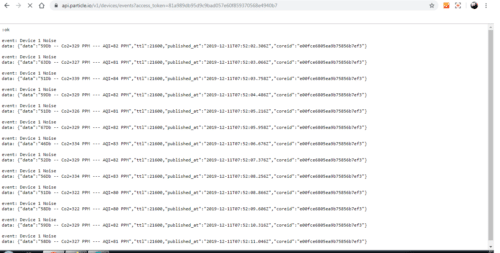
Now visit the Device Cloud console of Particle where you can view the collected environment data. To see the environment data on a web browser, you can stream it live using the URL found within the console.To get the data over BLE, you can view using Nordic Semiconductor’s BLE app. To get data over the particle console open the particle install and open particle app.
If you found this IoT project useful then you may also like Top 30+ IoT Projects | IoT Project Ideas for Enthusiasts.


can we get a block diagram please