 Water turbidity is an important factor for maintaining the clearness of water in different places such as ponds and lakes. It is also required for monitoring water sewage treatment systems, washing machines, aquariums and in many more equipment. But there are less instruments that measure turbidity and are quite expensive as well. All this makes it a challenge to measure turbidity.
POC Video in English:
POC Video in Hindi:
Bill Of Material
To make the device, we need the following components:

Coding
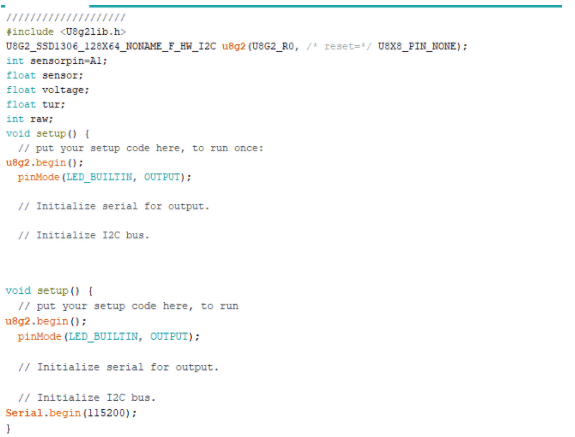
Install the u8g2 library that will drive the OLED screen. To do so, go to Sketch → Library → Library Manager → Search → U8G2→ Install
After installing, add the u8g2 library in the code and create variables to store the raw sensor data. The stored raw data is converted into voltage. The variables are also used for obtaining the Nephelometric Turbidity Unit (NTU) values. However the NTU reading is just for reference; it is not accurate as the sensor is not linear.
Then define the pin number for the sensor. Here I am using the A1 pin for the sensor.
Next create the setup function. Enter the baudrate for serial debugging and initialise the communication path for OLED in the setup function.

Create a loop function for checking the sensor values stored in the variables. Now convert the values into voltage after which, map the raw values to get the NTU values that will be displayed. on the OLED screen. Use several if conditions to check the range of water turbidity so that it can be categorised as clean, dirty or cloudy water (for display on the OLED screen).

Connection
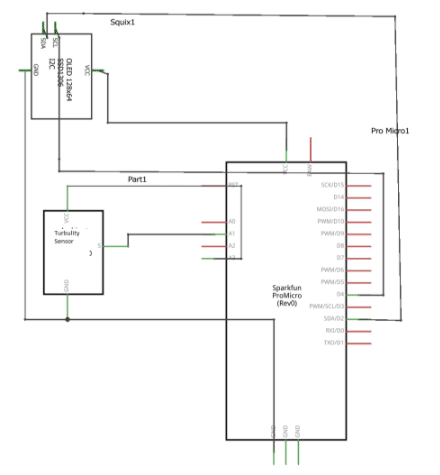
Connect the components as shown in the circuit diagram. Note that the turbidity sensor has two parts: one that goes into the water and the other module amplifies the signal from the sensor that is dipped in water. The sensor is connected to the module via jumper cables. Connect the Arduino with the sensor module as per the given circuit diagram.

Testing
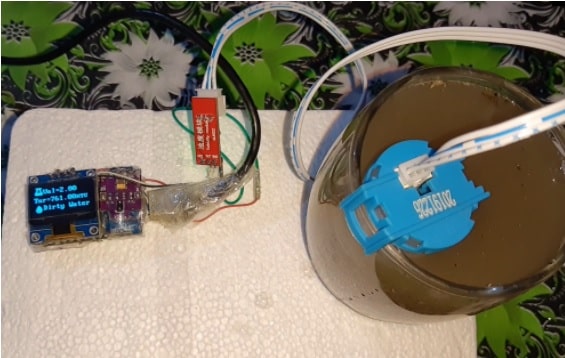
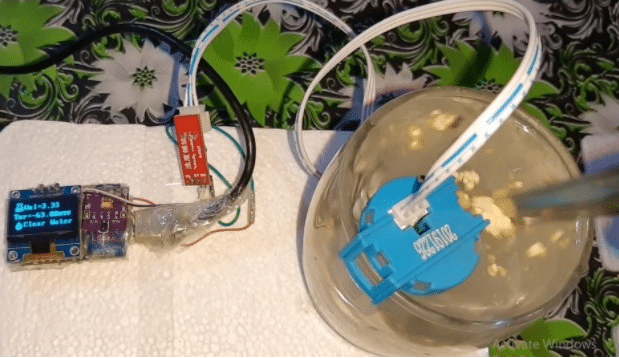
Power the device with 5V and put the sensor in clean water. After detecting the turbidity level, the reading will be displayed on the OLED screen (which is classified as CLEAN). Now start adding impurities in the clean water. The status of the turbidity level changes from CLEAN to CLOUDY, MUDDY or DIRTY.
Congratulations!! You have successfully built a low-cost water turbidity meter.


It would be helpful if you posted a link to the make and model of the turbidity sensor
Sure, But can you elaborate what type of model do you want?
you mean how to make the turbidity sensor by yourself.