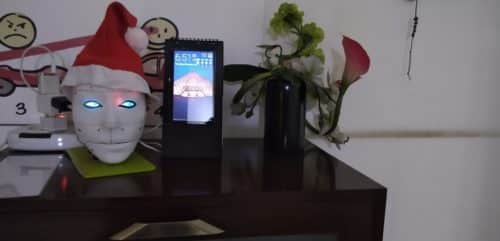
 We all must have used a photo frame in our houses, but have you ever wondered that you can make a smart digital photo frame cum calendar by yourself?
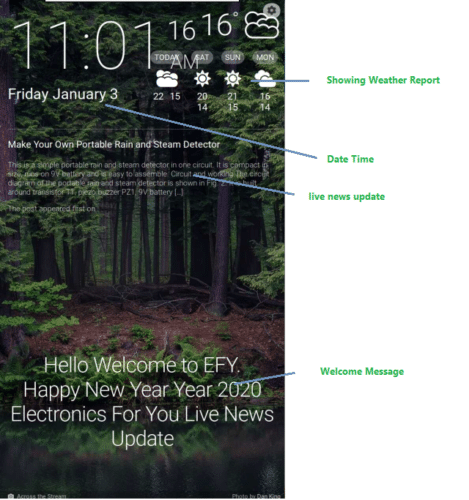
Today, we will make this smart digital photo frame that will have lots of unique features such as changing pictures in real-time, showing your to-do list and current weather status and also giving you live EFY news updates.
Bill of Material

Preparing the Calendar Body
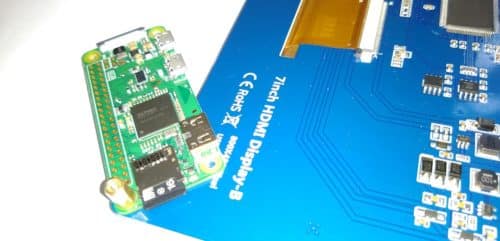
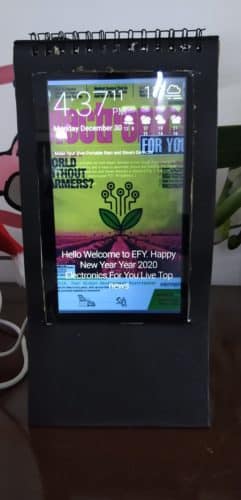
First of all, get any spare, old calendar and cut it from the middle as per the size of the LCD screen. Then, connect the Raspberry Pi Zero W to it. (Refer Fig 3.)
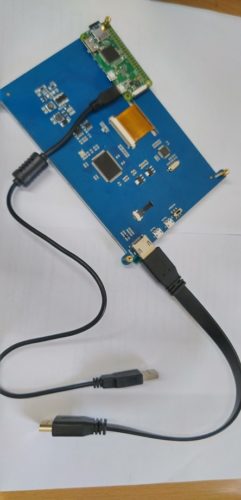
Fig 3. Raspberry Pi Zero W connected to the LCD screen
Preparing the software
For creating a beautiful layout in the LCD screen, visit this website that lets you create the home screen of the photo frame.
NOTE: You can create this layout with the help of Python GUI as well, but comparatively, it is a bit complicated.
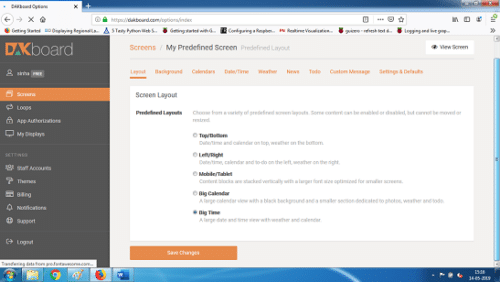
Now, open the website and go to Screens → Layout.
Set the layout of the screen from a range of options such as bottom layout, top layout and many more. (Refer Fig 6.)
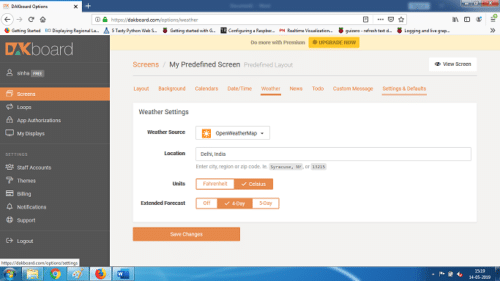
To set the weather, clock, country time and more for the photo frame, go to Screens → Weather, Date/Time and other menu options. (Refer Fig 7.)
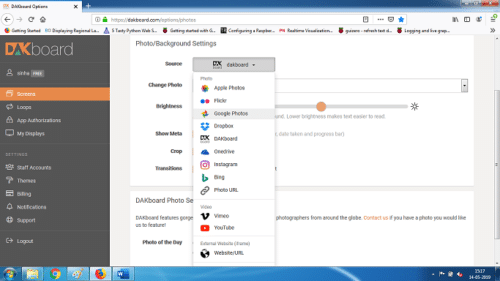
Now set the option from where you want to sync your photos that will show up in the photo frame. (Refer Fig 8.)
After that, copy the link of the DAKboard website in a new web browser that is opened in the Raspberry Pi.
After pasting the above URL in a new web browser, open it and set the display layout of the calendar to fullscreen mode.
Congrats, your smart calendar is now ready for use.
https://dakboard.com/app/screenPredefined?p=508c2e4fd17c6c82b7b0a041211cedfd


How should we connect dak board and raspberry Pi zero w.. I have no clue where should we connect the two wires in figure 3.please kindly respond