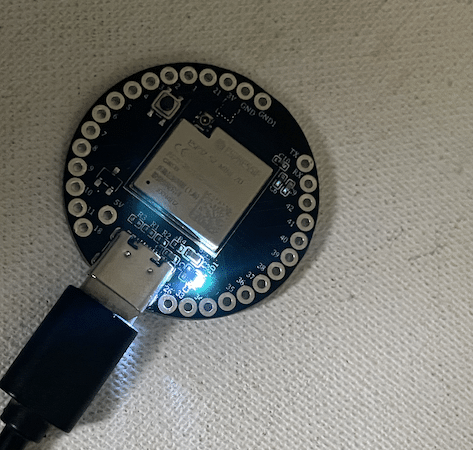
IndusBoard, equipped with an ESP32 chip and inbuilt touch sensors on its GPIO pins, opens up exciting possibilities for creating touch-based projects.
In this project, we’ll explore how to transform IndusBoard into a touch switchboard, allowing you to control devices like lights or relays with a simple touch. This versatile application can be extended to various touch Human-Machine Interface (HMI) projects.


Bill of Materials (BOM):
- IndusBoard: Compact IoT development board with an ESP32 chip and inbuilt touch sensors.
- LED or Relay: Depending on your project, choose either an LED for demonstration or a relay for controlling higher-powered devices
Touch Switch Board – Coding
In the code, start by defining the GPIO pin to be used as a touch input from the GPIO pinouts on the Indusboard that support touch functionality.
Next, define the GPIO pin for the LED. Inside the loop, continuously check the reading from the touch input pin. If the reading exceeds 7000 (which indicates a touch event), turn on the LED by setting the LED pin high.

Step 1: Connect the board with USB or power it with a 5V vin pin
Step 2: Connect LED or Relay

Connect the anode of the LED or the signal input of the relay to GPIO pin 2 (ledPin).
Connect the cathode of the LED or the other side of the relay to the ground (GND) pin on the IndusBoard.
Step 3: Connect Touch Sensor
Use GPIO pin 4 (touchPin) to connect the touch sensor. Connect one side of the touch sensor to GPIO pin 4 and the other side to the ground (GND) pin.
Step 4: Power Up and Test
Power up the IndusBoard, and when you touch the touch sensor connected to GPIO pin 4, the LED or relay should toggle its state.
Conclusion
You’ve successfully created a Smart touch switchboard using IndusBoard. This simple project demonstrates the potential of IndusBoard in touch-based applications, paving the way for more sophisticated touch-controlled projects.
Experiment with different touch sensors and expand the functionality according to your project requirements.
Download Source Code for Touch Switch Board


