


ESPFLIX is an innovative, open-source streaming device leveraging the power of ESP32 microcontrollers on the compact IndusBoard platform. This tutorial provides detailed steps to build your own ESPFLIX device, allowing for customizable and efficient streaming solutions at a fraction of the cost of commercial products.
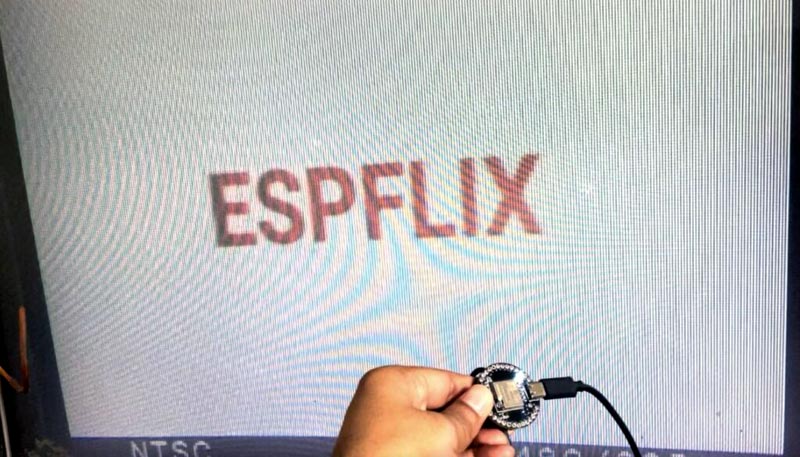
Table of Contents
What Will You Need?
- IndusBoard with ESP32 microcontroller
- RCA Audio/Video cable
- Soldering kit
- Jumper wires
- Breadboard (optional)
- Power supply for IndusBoard (USB or external)
- Infrared (IR) receiver (optional)
- Arduino IDE installed on your computer
- ESPFLIX library (available here)
Step 1: Setting Up the ESPFLIX Library
Download the ESPFLIX Library:
- Visit the ESPFLIX GitHub repository.
- Download the repository as a ZIP file.
Install the Library in Arduino IDE:
- Open Arduino IDE.
- Navigate to
Sketch>Include Library>Add .ZIP Library.... - Select the downloaded ZIP file to add the ESPFLIX library.
Configure the Library:
- Navigate to the Arduino libraries folder (usually found in the Documents folder).
- Locate the
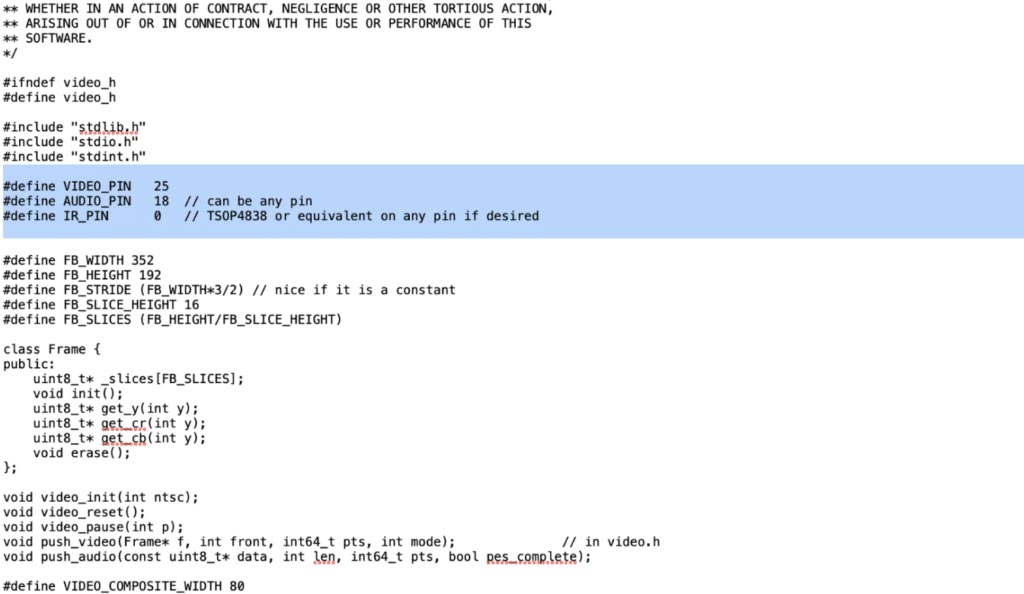
ESPFLIXlibrary and open theSRCfolder. - Open the
video.hfile in a text editor. - Change the video pin from 25 to 18.
- Change the audio pin from 25 to 26.
Step 2: Writing and Uploading the Code
Open the ESPFLIX Code:
- Open the
.inofile from the ESPFLIX library in Arduino IDE.
Select the Board:
- Go to
Tools>Boardand selectESP32S2.
Upload the Code:
- Connect your IndusBoard to your computer via USB.
- Click the
Uploadbutton to upload the code to the board.
Step 3: Connecting the Hardware
Prepare the RCA Cable:
- Cut one end of the RCA cable to expose the wires.
- Identify the GND and signal wires.
Connect RCA Cable to IndusBoard:
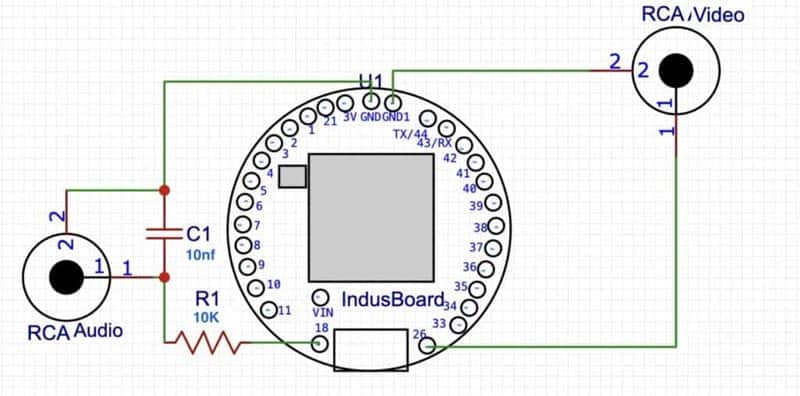
- Refer to the circuit diagram (Fig. 4).
- Connect the signal wire of the RCA video to pin 18.
- Connect the audio signal wire to pin 26.
- Connect the GND wires of both RCA connectors to the GND pin on the IndusBoard.
Step 4: Testing the Setup
Power the Board:
- Connect the power supply to the IndusBoard.
Control Options:
- Optionally, connect an IR receiver to the board to control the device remotely.
- You can also modify the code to use the built-in accelerometer and magnetometer as input devices.
Testing:
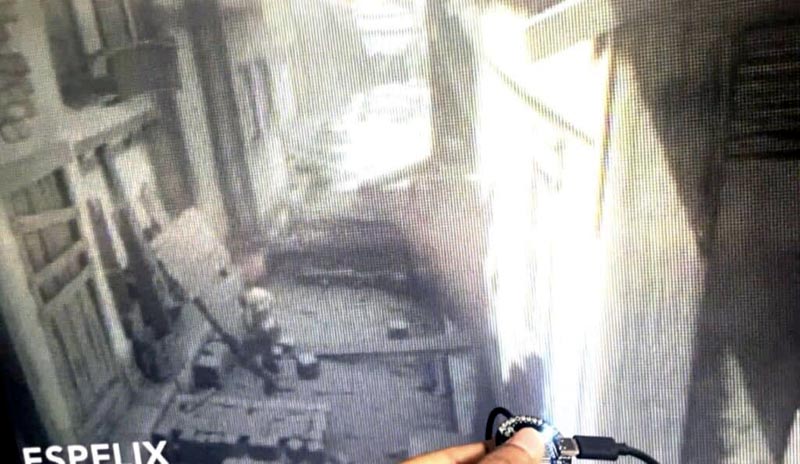
- Once everything is connected and powered, your ESPFLIX device should be ready to use.
- Connect the RCA cable to a TV or monitor to start streaming.
Additional Tips
Debugging:
- If the video or audio doesn’t work, double-check the connections and ensure that the correct pins are used as configured in the
video.hfile. - Use the Serial Monitor in Arduino IDE to debug and check for any error messages.

Customization:
- Explore the ESPFLIX library and modify the code to add more features or change existing ones.
- Consider integrating other sensors or modules to enhance functionality.
ESPFLIX Library Setup: The ESPFLIX library is crucial for running the streaming functionality on the ESP32 microcontroller. By modifying the video.h file, you can customize which pins on the IndusBoard handle video and audio signals. This flexibility is key for adapting the ESPFLIX to various hardware setups.
Coding: The provided .ino file contains the main program for ESPFLIX. When you upload this code to the IndusBoard, it sets up the ESP32 microcontroller to handle video and audio streaming efficiently.

Connecting the RCA Cable: RCA cables typically have two internal wires: one for the signal and one for the ground. Connecting these correctly to the designated pins on the IndusBoard ensures that the audio and video signals are properly transmitted to your TV or monitor.
Control Options: Using an IR receiver allows you to control the ESPFLIX device with a remote. Alternatively, modifying the code to utilize the IndusBoard’s built-in sensors can provide innovative ways to interact with the device, such as using gesture controls.

Testing: Powering the board and connecting it to a display via RCA should show the streaming interface if everything is set up correctly. Debugging might involve checking connections, ensuring correct power supply, and monitoring the Serial output in Arduino IDE for any errors or status messages.
Building your own ESPFLIX streaming device is a rewarding project that showcases the versatility of the ESP32 microcontroller and the IndusBoard platform. This detailed DIY tutorial provides step-by-step instructions to help you set up and test your device. With a bit of customization and creativity, you can expand its capabilities and create a personalized streaming solution that fits your needs.


