Here, we present a technique to control the media player using a hand glove. It requires Windows Media Player, LabVIEW, Arduino and an accelerometer.
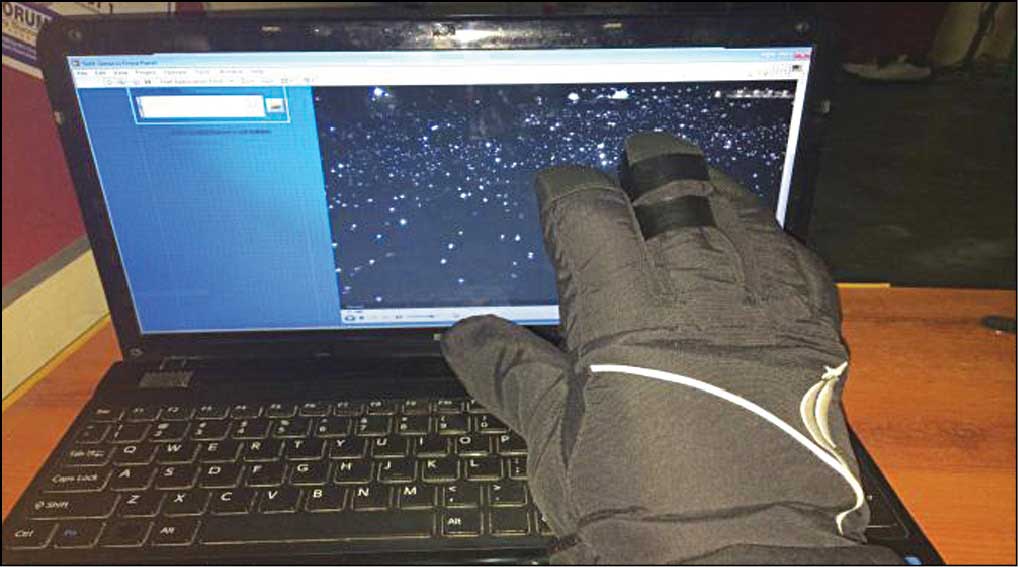
Sixth sense or gestural interface program is a popular term especially in robotics and wearable computers. This project describes a hand-gesture-controlled media player. Many hand-gesture-controlled media players have been developed based on image processing techniques. However, in such a media player, the user moves the hand in front of the camera. Here, we present another technique to control the media player using a hand glove (Fig. 1). It requires Windows Media Player, LabVIEW, Arduino and an accelerometer.
LabVIEW
Laboratory Virtual Instrument Engineering Workbench, popularly known as LabVIEW, is a system design platform and development environment for a visual programming language from National Instruments (NI). LabVIEW programs are called virtual instruments, or VIs.
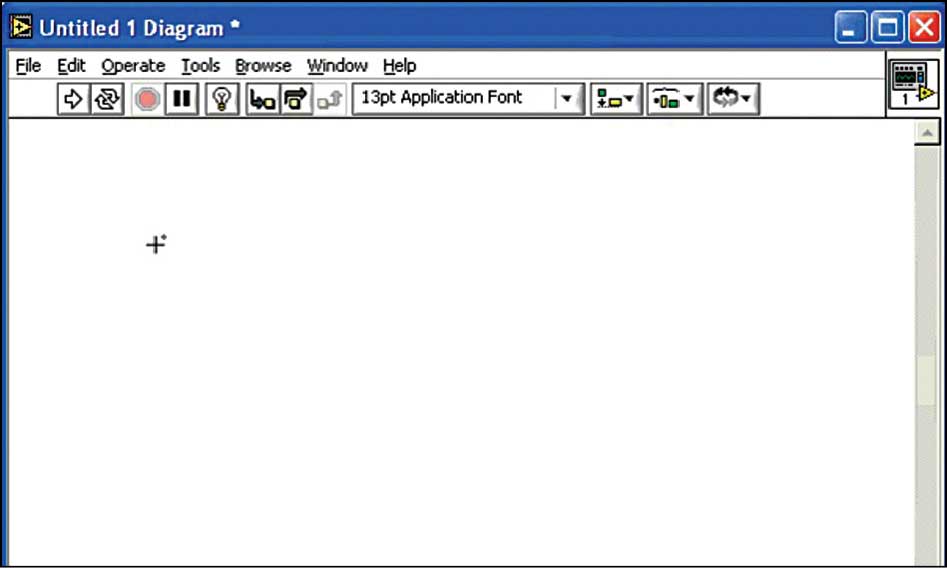
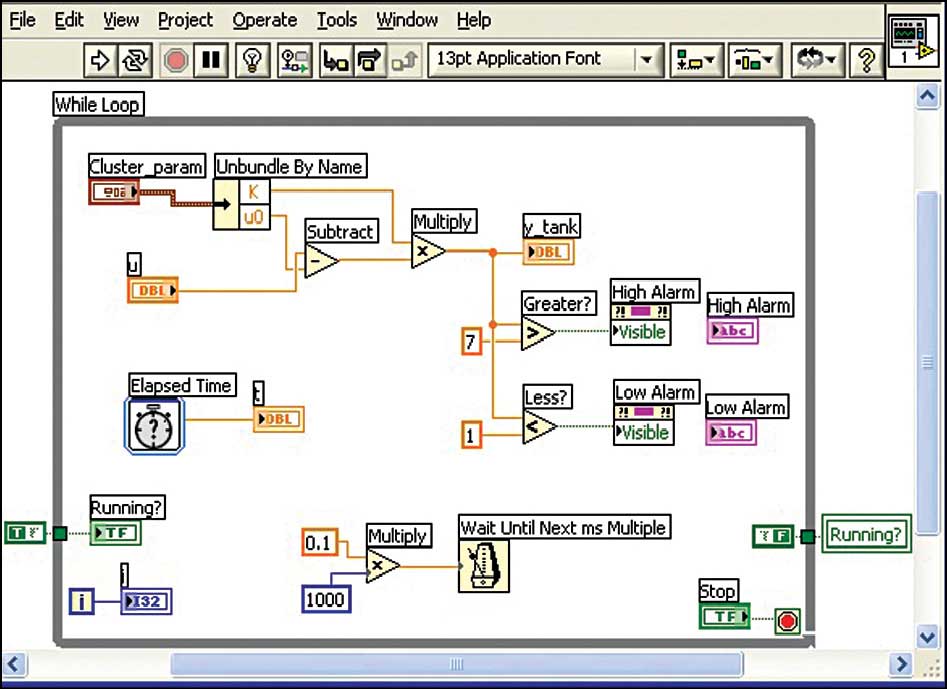
LabVIEW works on the principle of data flow. It is basically a graphical programming language in which the user can set up the program to manipulate and store data. There are three important components in LabVIEW programming: Front Panel, Block Diagram, and Icons and Connectors as shown in Figs 2, 3 and 4, respectively.
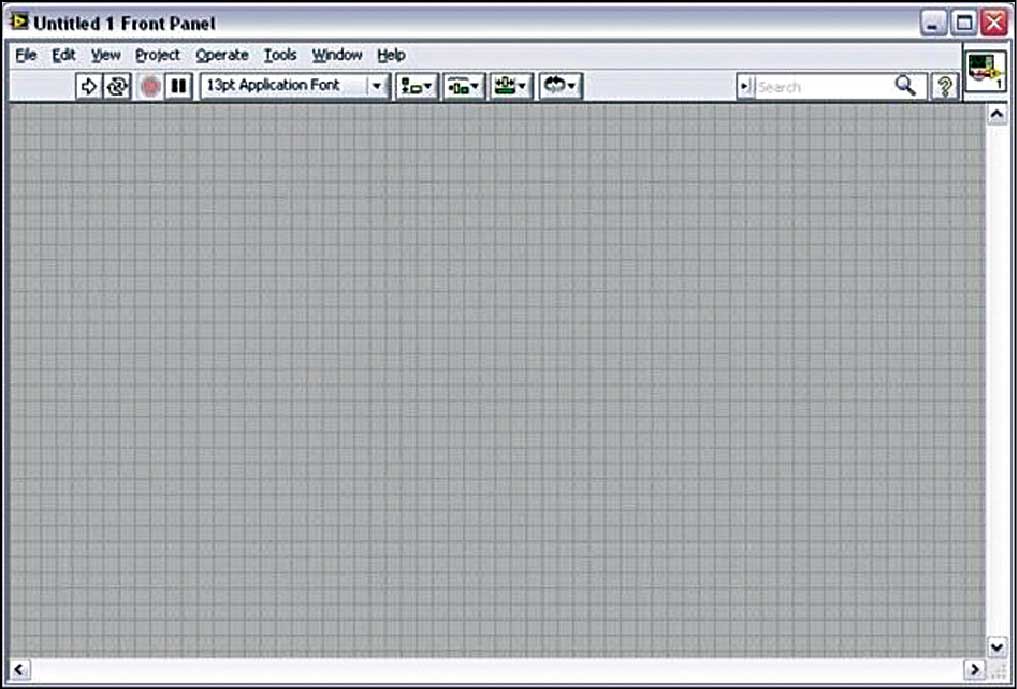
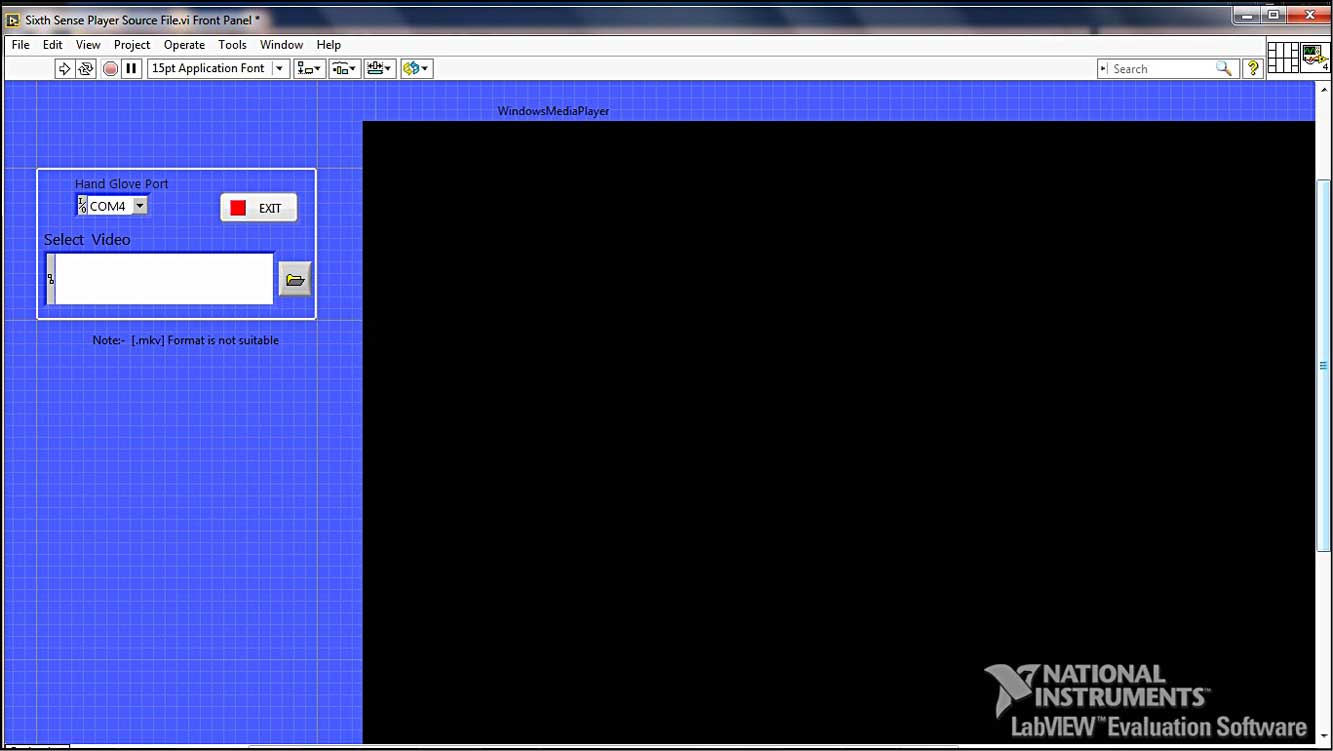
Front Panel is used to simulate the process or virtual testing area. It serves as the user interface (UI). Here, indicators and controllers are shown without any connection between these. We can control the action or simulate the process by clicking Run on the Tools bar.
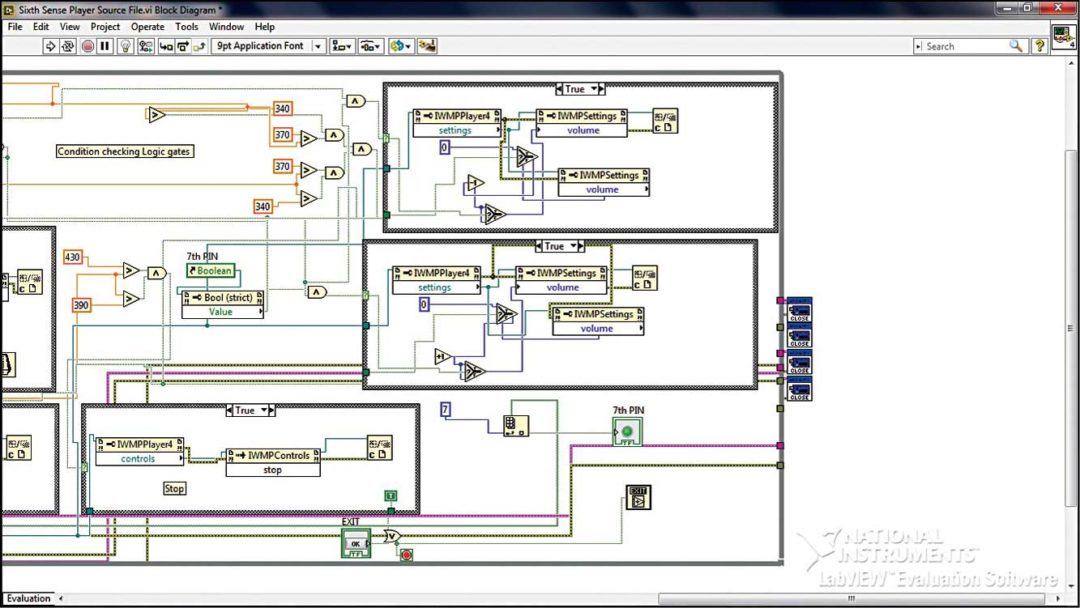
Block Diagram is used to program the process for the purpose of getting required or desired output. It contains the graphical source code that defines the functionality of the VI. Here, the programming method is graphical, so it is easy to understand, program and is less time-consuming.
Icons are used as variables or controllers. These play a vital role in programming. These icons have pre-defined functions. Wires in LabVIEW are used to connect the input to the output.
Arduino
This is an open source physical computing platform based on a simple microcontroller (MCU) board and a development environment for writing software for the board. ATmega328 is used in Arduino UNO board. It has 14 digital input/output (I/O) pins (of which six can be used as PWM outputs), six analogue inputs, a 16MHz ceramic resonator, USB connection, power jack, reset button and an ICSP header. It contains everything needed to support the MCU; simply connect it to a computer with a USB cable or power it with an AC-to-DC adaptor or battery to get started.
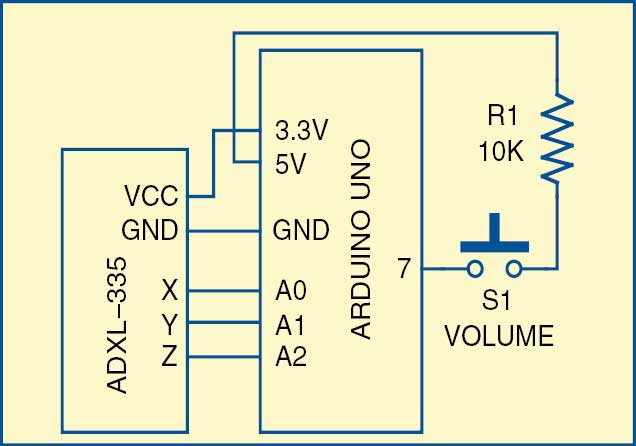
In this project, a switch button is used at digital pin 7 of the Arduino board for volume up and down controls. Analogue pins A0, A1 and A2 are used to interface accelerometer ADXL-335. The circuit block diagram is shown in Fig. 5.
LabVIEW with Arduino UNO
Interfacing LabVIEW with Arduino is done through LabVIEW Interface for Arduino (LIFA) application. LIFA allows users to control sensors and acquire data through an Arduino MCU using the graphical programming environment of LabVIEW. By utilising the processing power of LabVIEW running on a desktop computer with I/O and expandability of Arduino platform, users can create many applications.
Tools required include Arduino board, Arduino IDE, LabVIEW, NI-VISA and JKI VIPM.
Steps for interfacing LabView and Arduino UNO board
1. Install LabVIEW 2011 or later (current version 2014). LabView 2014, 32-bit version can run on Windows 7, 64-bit PC.
A full-featured, non-commercial renewable six-month evaluation of LabVIEW can be downloaded from NI’s website.
2. Install Arduino IDE. It is free, open source and available for download at www.arduino.cc/en/main/Software. Arduino IDE is required to build LIFA’s open source firmware.
3. Install NI-VISA. It provides serial (RS232) drivers for LabVIEW and is available as a free download at www.ni.com/visa/
4. Install JKI VI Package Manager (VIPM). This package manager for LabVIEW provides an easy way to install and update LabVIEW libraries. Download it from jki.net/vipm/download
5. Install LIFA, which is part of the LabVIEW tools network and is available for direct download or using VIPM.
6. Connect Arduino UNO to the host computer. Any Arduino-compatible board should work but LIFA was designed for and tested using Arduino Uno. If this is the first time the Arduino is being connected to the computer, Arduino drivers must be installed first.
7. Deploy LIFA firmware to Arduino. LIFA uses open source Arduino firmware to communicate with LabVIEW. The firmware source code is included within LIFA installer. Once the firmware is deployed to Arduino, it will remain until Arduino is reprogrammed via Arduino IDE.
8. Run LIFA Blink example. Blink example is a simple LabVIEW application that enables the LED attached to Arduino pin 13 to blink. It will confirm whether the hardware and software are set up correctly.
Working of the sixth-sense player
The sixth-sense player uses both LabVIEW and Arduino software. Programs are combined to a single set-up (.exe) file so that you can install this player application on any computer even without LabVIEW and Arduino software. In addition to these two software, an accelerometer is used as the motion sensor. The sensor is used to get different electrical signals as per the movement and position of the sensor attached to the hand glove.
Either you enclose Arduino and the sensor in a suitable enclosure or you may use the hand glove to control the sixth-sense player. We have used an ordinary leather hand glove. Leather is carefully cut so that Arduino and the sensor can be inserted between the leather and linen.
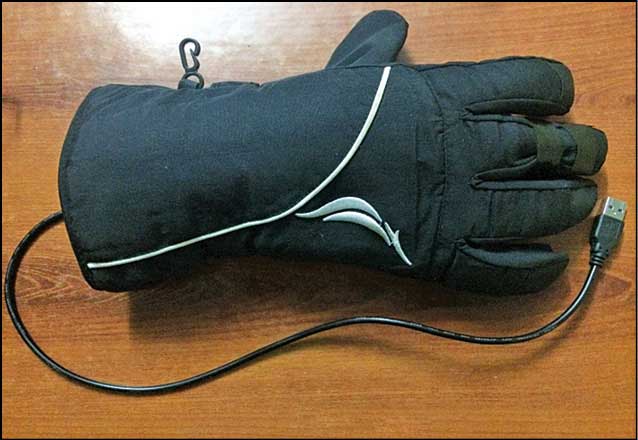
Now, close the opening using adhesive tape or stitch it, so that Arduino and the sensor will not come out. Make another cut on the leather so that you can connect the USB cable to Arduino. The glove used during testing is shown in Fig. 6.
Download set-up program: click here
Put on the glove on your hand and connect the USB cable to your PC, and you are ready to play the sixth-sense player.
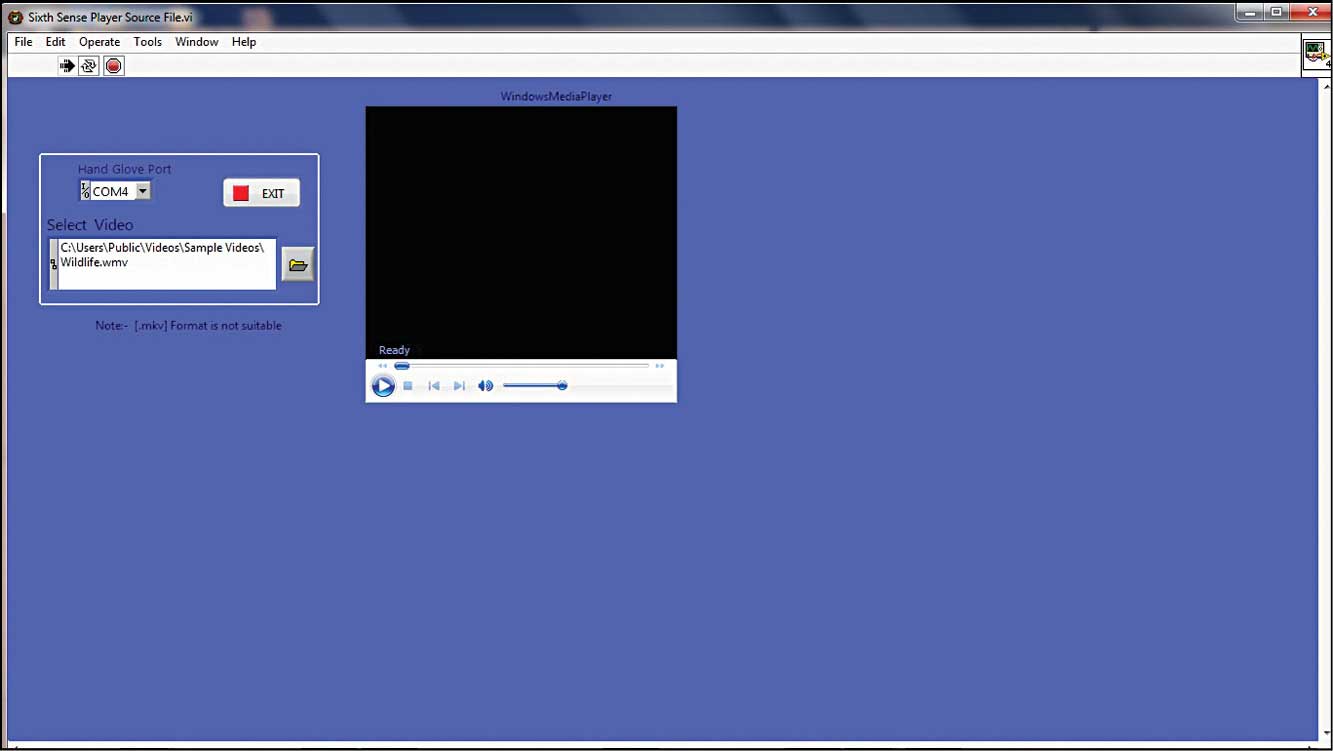
This project is developed using graphical programming in LabVIEW. You can open the LabView program (sixth sense player.vi) after installing all required packages mentioned in the interfacing steps. Front Panel of this LabView project is shown in Fig. 7 and part of its Block Diagram is shown in Fig. 8.
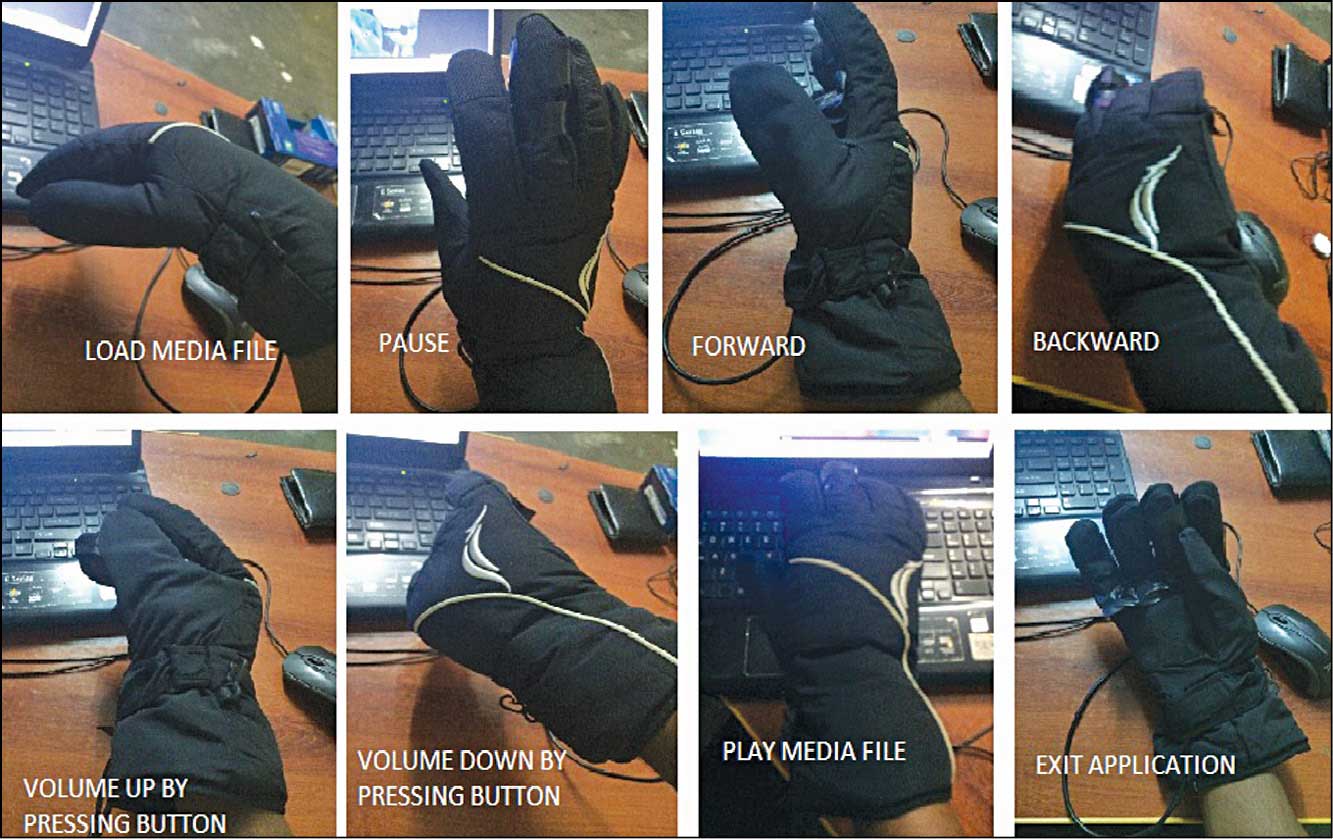
A set-up program can be downloaded from above. Run this program to install sixth sense player.exe in your system. Run sixth-sense player.exe program and you will get UI output as shown in Fig. 9. First load the media (video/music) file by clicking on the folder icon and then select the appropriate com port. Different hand glove movements to control the different functions of the media player are shown in Fig. 10.
Future application
It is possible to develop wireless control for this application, so the user can access the application from anywhere in the room.
Antony Edison is a student of BE (mechatronics) at Hindusthan College of Engineering and Technology. He and his team have successfully designed an electric solar vehicle


video is not playing in the final .exe file even after completing all these steps. However Accelerometer is working fine and it gives coordinate results in the labview file. PLEASE HELP