 The laptop has now become one of the must-have items everyone should own.
Today different varieties of laptops are available in the market, with different price tags. You will be amazed to learn this, but you can make your own laptop for under ₹ 7,500. It will have the capability to do all simple tasks just like mid-range laptops, including video playing, net surfing, programming among many other
things.
And we are here to help you! This project will provide you with a step by step guide
to building a low-cost laptop. Besides, you will also get the whole idea about how
a laptop or any other electronic gadget is being designed and how these
devices work.


Designing
Before designing a laptop, we first need to decide what features we want to have in it and our budget.
The budget of this project is below ₹ 7500. Let’s see what components and features we can have in this range.
Display and processor are the most expensive parts of any laptop. So, we have selected the 7-inch touch display that comes under ₹ 3300. Next is selecting the features and finding out the minimum hardware requirements to build these features.
Basic features of a budget laptop
- Can do all the basic work tasks such as running Word, Excel and PPT software
- For programmers, it must be capable of running python and other programming software.
- Can play basic multimedia systems like music and HD videos
- Should have Wi-Fi and Bluetooth connectivity for wireless file transferring system and wireless connectivity to the internet
- It should run web browsers like Chrome and Firefox for the best net suffering experience.
Below is the list of components required for our laptop and the bill of material.
Bill of materials and Component List

Note: If you need 4GB of ram or 8GB or ram you can switch to RPI 4 with respective RAM
Preparing Raspberry Pi Development Board
To prepare Raspberry Pi for our laptop, we first need to install the OS in it. Follow the given steps for it.
Preparation of SD card for installation of OS:
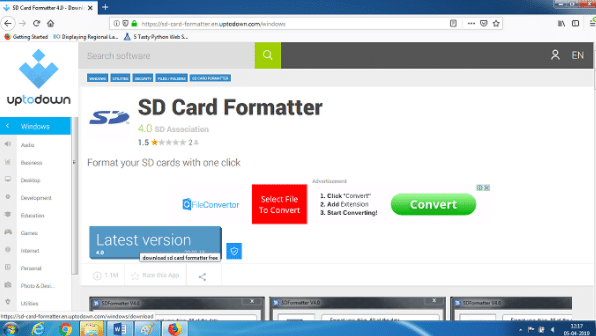
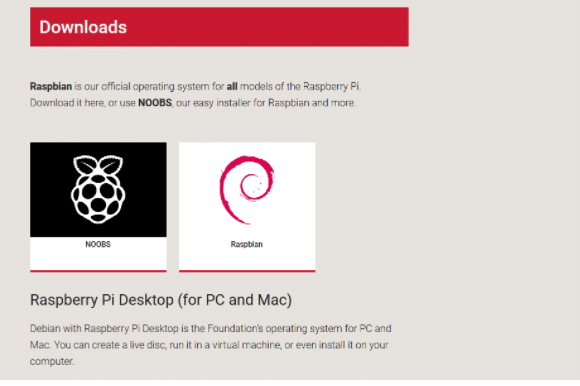
First, open the web browser in your PC, then download and install the SD card formatter. After that format your SD card for Raspberry Pi with fat 32 formats. Then open the link below in the browser to download the OS image. You will get multiple options for the OS to set up in Raspberry Pi.
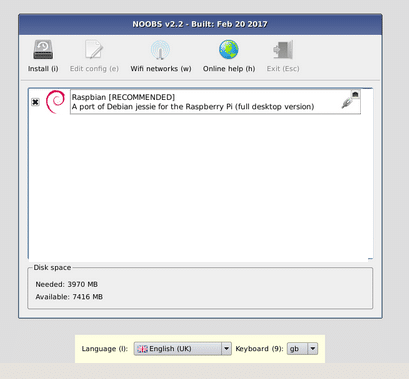
Here on this laptop, we are going to install the noobs-based Raspbian, so download that. After the download is successful, extract the file to SD that we have previously formatted. After that eject, the SD card and insert it in Raspberry Pi zero and connect the HDMI cable to the display. Then power the Raspberry Pi and display. After a few seconds, the Raspberry Pi boots up for the first installation. Connect a mouse to its USB port and select the Raspbian OS for installation. Wait until it finishes its installation.
Now our Raspberry Pi is ready. Restart it and wait until it boots. After the first OS installation, you will get the GUI of the OS in your display. Now install all necessary software. Some software like libra office and other programming software like Genny, Python is preinstalled in it.
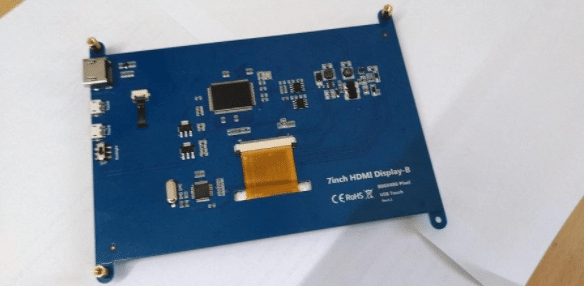
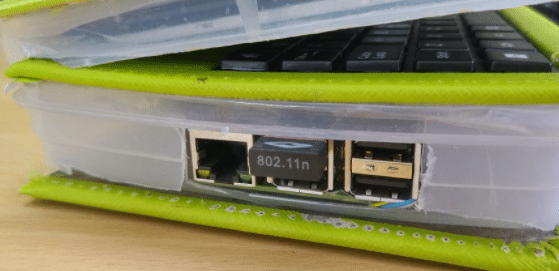
After software installation, attach the Raspberry Pi to LCD display using screws and as illustrated in the pictures below.
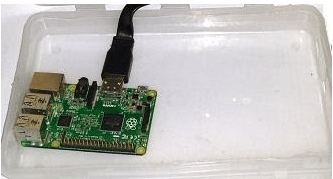
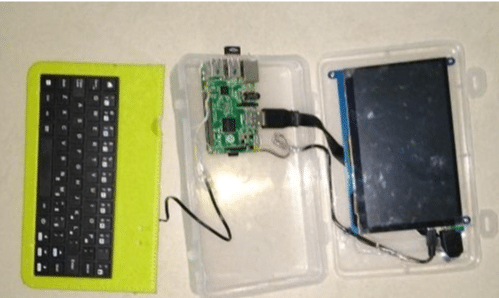
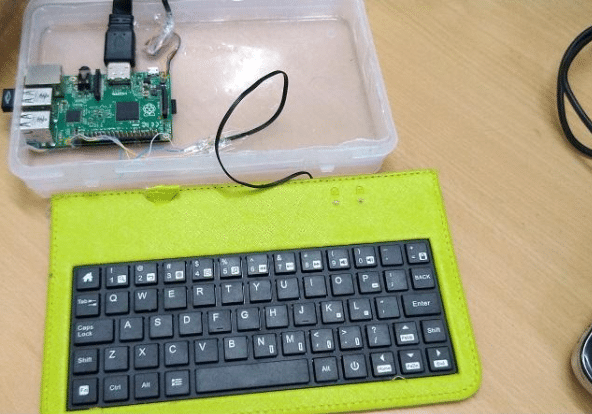
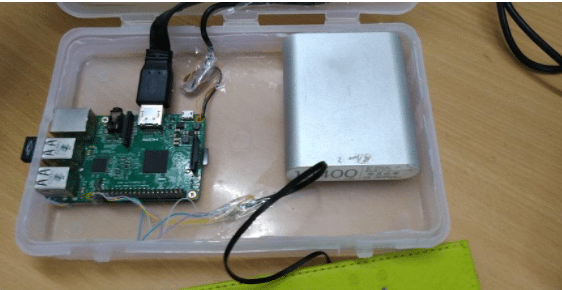
Testing


Now your Raspberry Pi is ready for testing. You can now play videos, watch youtube and do all the simple stuff that you do on your laptop.
We have also build the Smallest Raspberry Pi Laptop with touchscreen feature using E-ink Display.
You can download the Raspberry Pi OS here.


Good. Nice project for beginners.
Thank you for your valuable feedback.
how did you install/run into it?
Can you elaborate your doubt