 Storage systems play an important role for office as well as personal use. Due to the increasing file sizes, external drives are often needed to store data. But repeatedly plugging in and out external drives may cause damage to the USB. On top of that, managing USB pen drives and external HDDs is a bit difficult. Such USB drives and storage systems allow you connectivity with only one device. To remove such problems and make life easier, today you will learn to make a wireless pen drive or a Network-Attached Storage (NAS) device that can store files over WiFi.
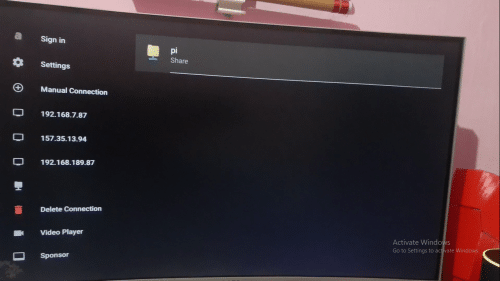
To access them, you would simply need to connect the wireless storage device to your PC, laptop, smart TV or any other digital display device. In fact, you can connect multiple devices and view the same files simultaneously. If needed, the storage capacity can also be increased by adding extra USB SSDs or HDDs to the wireless NAS system or pen drive. All this can be achieved with the help of Raspberry Pi that uses the SAMBA network to set up a NAS or wireless pen drive.
Bill Of Materials
For the project, the following components are required

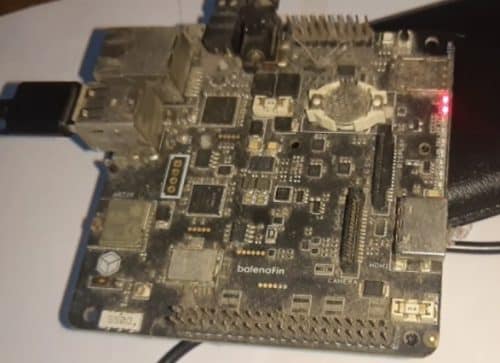
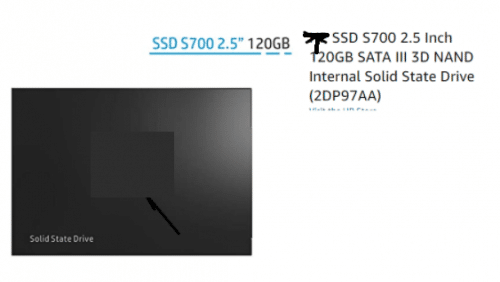
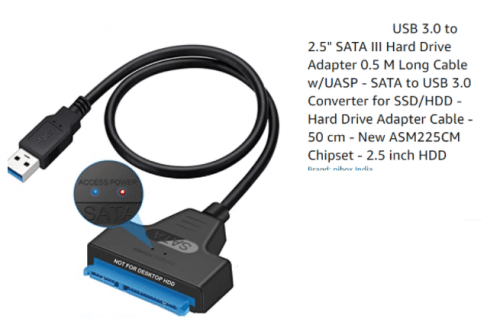
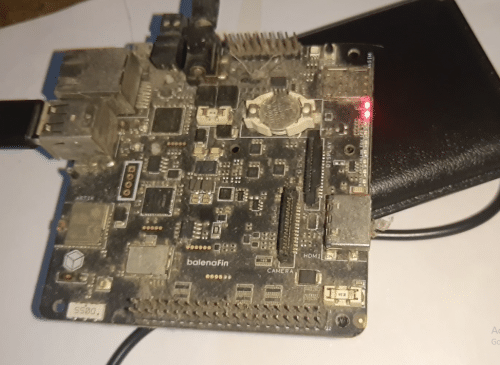
A server system is needed for NAS, which requires Linux. You can use any WiFi-enabled Raspberry Pi for this. I chose the Raspberry Pi compute module with balenaFin but you can use Raspberry Pi Zero W instead to cut expenses. If you want a simple wireless storage system with around 4GB – 120GB, then you can use an SD card. But if you need storage greater than 500GB or 1TB, then you can use an SSD or HDD external drive and connect it with Raspberry Pi via USB. You can also buy the NAS kit for connecting SSD SATA, but here I recommend you to use the SSD SATA internal drive with an SSD USB adaptor to add extra storage to Raspberry Pi (see pic below).
You can purchase a good SSD SATA drive
Next, set up the latest Raspbian OS on the SD card and then install the SAMBA. To prepare the NAS server, open the terminal and run the following commands:
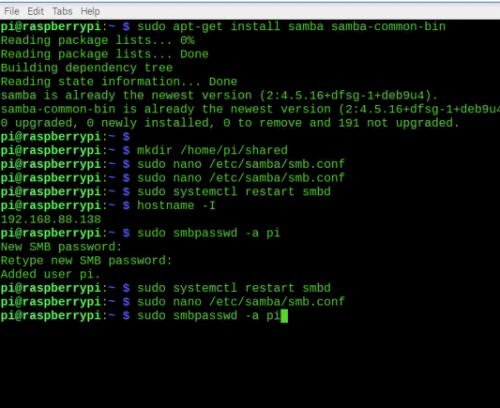
sudo apt-get insta;; samba samba-common-bin

sudo nano /etc/samba/smb.conf
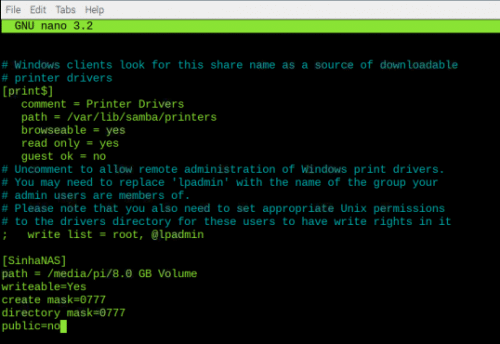
Then add the following at the end of the file. Save using Ctrl + X, then y.
[NASserver] #server name
path = /home/pi/shared
writeable=Yes
create mask=0777
directory mask=0777
public=no
sudo smbpasswd -a pi
Set a password and then restart the NAS server with the following command:
sudo systemctl restart smbd
Testing
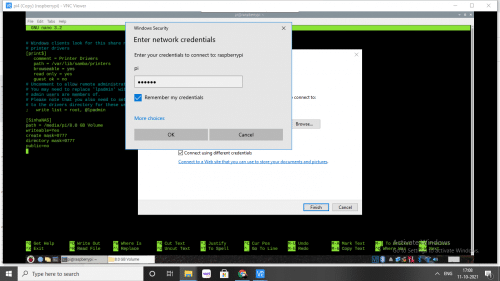
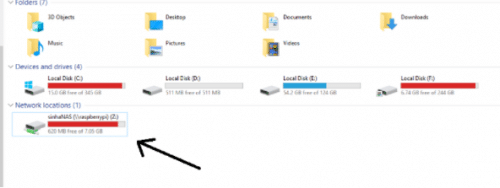
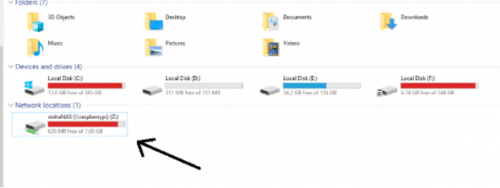
To access the storage drive in Windows, connect the Raspberry Pi and PC to the same network, open file manager and map the network drive with the correct domain address.
//raspberrypi/SinhaNAS. The word ‘SinhaNAS’ is the server name. You can rename it anything else of your choice such as xyzNAS.
Now your network drive is ready to save files and access from this wireless storage drive.
Congrats!! The NAS server/ WiFi pendrive is ready for use.


