
Robotics is a part of today’s communication. Nowadays many industries are using robots, due to their high level of performance, which is a great help for human society also.
Likewise in many industries, we have seen heavy components which they have to move from one place to another place, which is not possible without the help of machines. So along with this problem, we have brought back the advancement of a solution, that is obstacle avoiding robot. It is designed to allow the robot to navigate in an unknown environment by avoiding collisions. Obstacle avoidance in robots can bring more flexibility in varying environments and it would be much more efficient for us. So continuous human monitoring is not required for this robot.
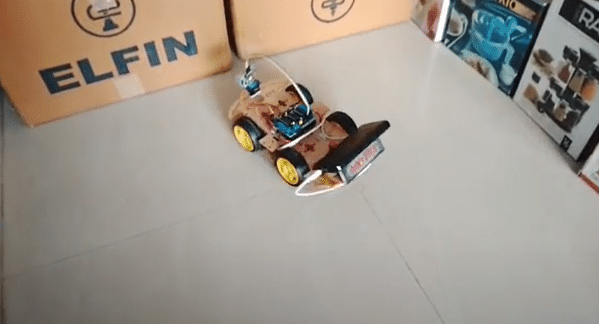
Methodology:
The main principle of our project is the concept of the sensor. First, the transmitter sent a signal of 8 sonic bursts at forty kilohertz. Then this signal gets reflected back to the receiver if an object is placed in front of the sensor. Afterward, the reflected signal gets received by the receiver. So by using this technique, the ultrasonic waves continuously calculate the distance between the car and the reflected objects. This car has the capacity to detect the obstacle in its path, whenever the object is in front of the car. Ultrasonic sensors generate high-frequency sound waves and evaluate the echo, which is received back to the receiver. After the obstacle detection, the car would change its direction by making autonomous decisions, because it is an autonomous robot. It can measure the distance between itself and surrounding objects in real-time. So it is really a useful one where human penetration could be fatal.
Components Required
- Arduino UNO
- Motor Driver Shield
- Wheels (4x)
- Gear Motor (4x)
- Servo motor
- Ultrasonic sensor
- Sensor stand
- Lipo Battery
- Acrylic sheet
- Male and Female jumper wire
Step 1: Assembling The Chasis
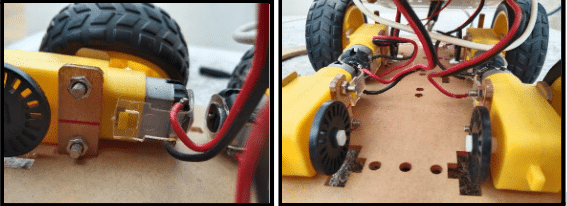
- Solder the wire to positive and GND of DC gear motor
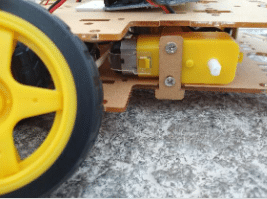
- Attach the DC gear motors to the bottom of the chasis
- Attach the wheel to the DC motors
Step 2: Mount The Components
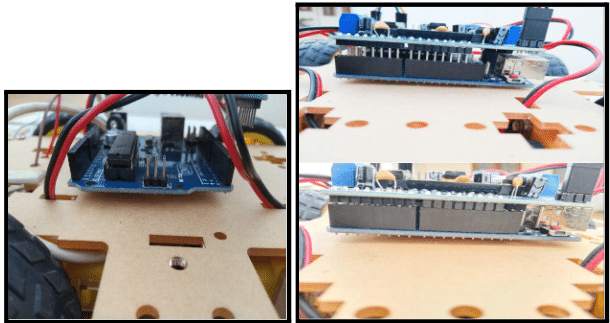
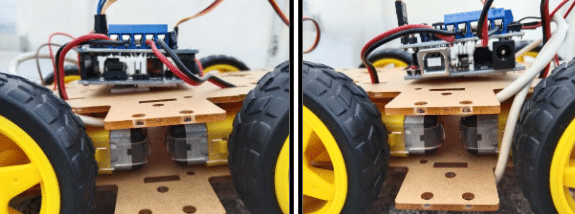
- Screw your Arduino onto your top chassis
- Then plug your motor driver shield into your Arduino
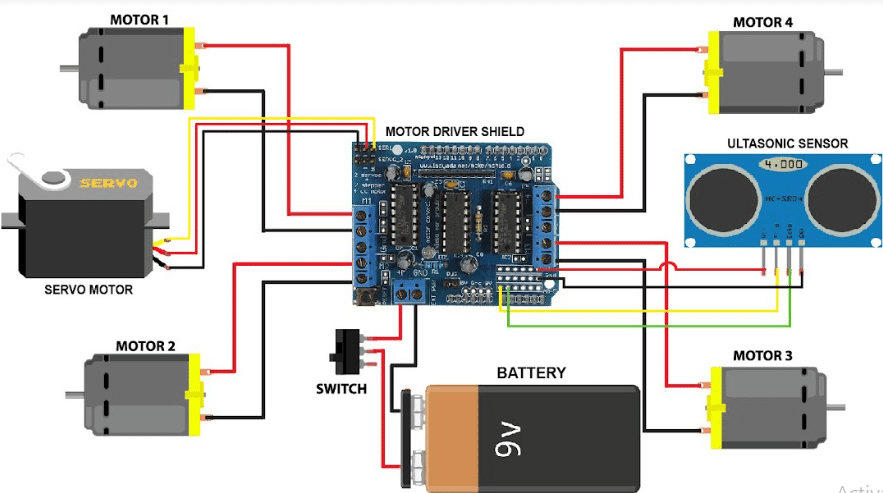
- Motor is connected to the correct pair of terminals, the front motors to the front terminals of motor shield, and the back motors to the back terminals of motor shield.
Step 3: Setting Up The Servo
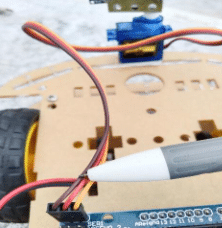
- Attach the servo on the top of the chassis
- Plug the servo into the servo 1 (SER1) header pins on the shield
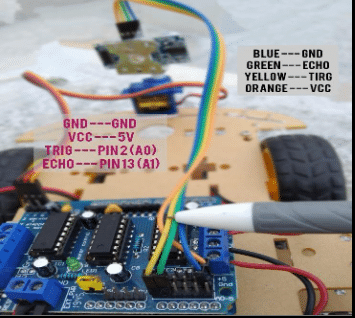
- GND-> GND
- Vcc -> 5V
- TRIG -> pin 2 (AO)
- ECHO -> pin 13 (A1)
Step 4: Power The Robot
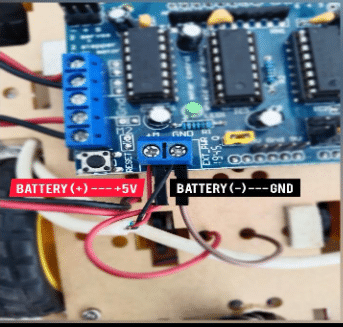
Connect the Lipo battery to the L293d motor driver as follows:
- Lipo battery (+) → +12V
- Lipo battery (- ) → GND
Connections:
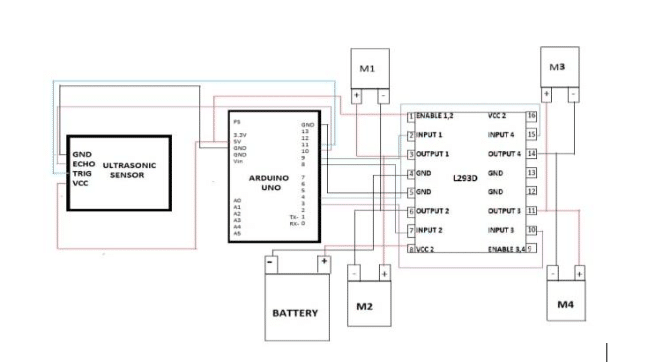
Testing The Robot
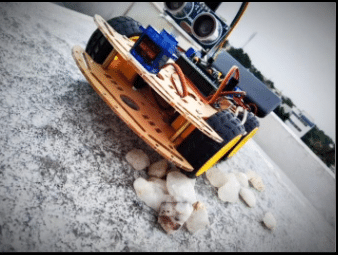
Now the robot is ready to avoid any obstacle!


