 From drones to smart cars, from lifts to industrial robotics, all use an important device: a motor or rotating gear. For reliable, robust and efficient motor design, measurement of rotational speed is required. Therefore, an instrument called a tachometer, which has a light emitter and a photosensor is often used. The device calculates rotational speed by sensing the rate of interruption of a light ray accompanied by a rotating disk with a hole.
While there are several good tachometers in the market, they are all expensive. So, in this project, you will learn to make a low-cost tachometer that can perform the same functions accurately.
Bill Of Materials
Let’s start with the project by collecting the following components.

Coding
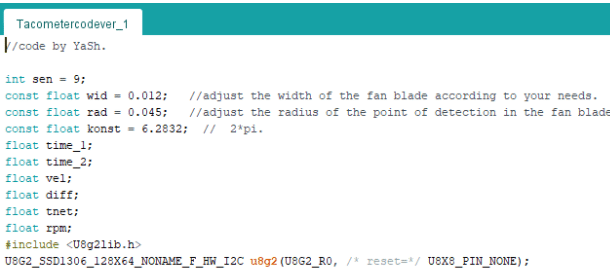
First, install the library for OLED to display the sensor readings. Then in the Arduino IDE, create variables for storing the values of speed calculations obtained from sensor readings.
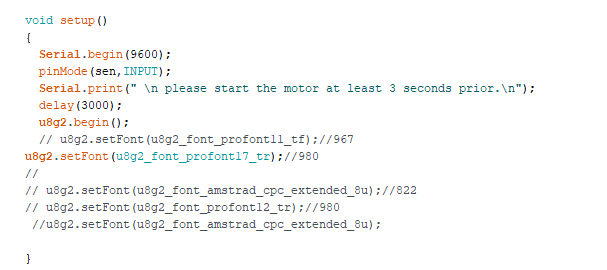
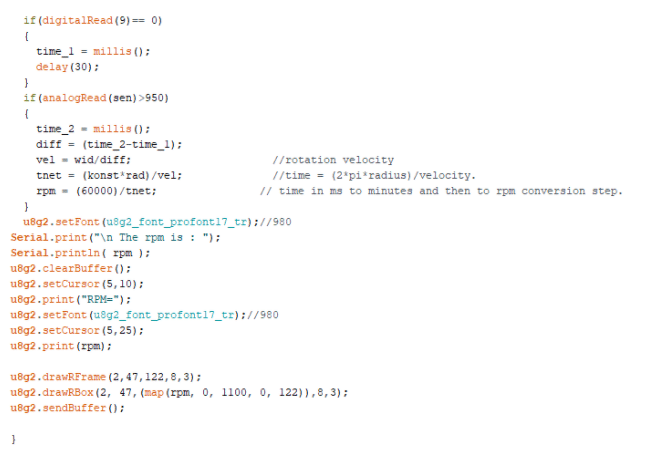
Next, create a setup function to initialise the I2C for the OLED display. After this, create a loop, which will convert the sensor pulse frequency into RPM by counting the number of light ray interruptions. The calculated values will then be displayed on the OLED screen.
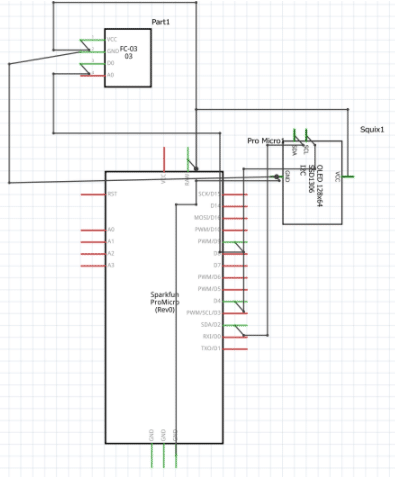
Connection
Testing
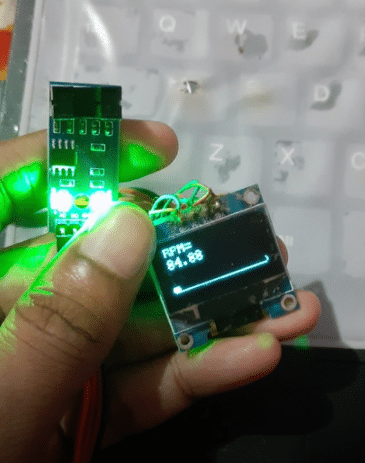
Now power the Arduino and place the rotating disk (having a single hole or transparent slot) in between the sensor. As the motor rotates, its speed in rotations per minute (RPM) will get displayed on the OLED display.
Download Source Code
Also, check DIY Tachometer built with a Microcontroller.


