 The popular voice-based AI digital assistant device known as Alexa is often used in smart offices and homes for applications ranging from lighting adjustments to controlling various consumer appliances. By simply asking “Alexa, can you…?”, one can operate any nearby connected gadget – just like a remote control. If you want to set up an IoT device that has a switch and circuit breaker, you might easily find them in the market. However, they are quite costly. Also, the size issue makes them a bit incompatible with the IoT device requirements.
To address this problem, today you will get to be familiar with a very useful IoT project while also getting to learn how you can make the smallest Alexa-controlled IoT device that can be regulated using Alexa. With this IoT controller, you can connect lights, fans, TVs, toasters, etc., and control them in any language of your choice. The Alexa-based IoT controller uses the ESP8266-01 with a relay module, which makes it small in size yet powerful like any other circuit breaker available in the market. The module also helps to bring down costs.
This article is a part of the Top 30+ IoT Projects. If you want to read more interesting IoT Projects can go through this article.
So let’s begin the journey of making the smallest Alexa-controlled IoT device.
Bill Of Material

Prerequisite
To install the ESP8266 board in Arduino IDE, go to Files → Preferences → Paste the URL http://arduino.esp8266.com/stable/package_esp8266com_index.json. After that, go to Tools → Board Manager → Search esp8266 and install the board to Arduino IDE.
Also, install the library esplexa in Arduino IDE as that will allow Alexa to control the IoT appliances that have been added to the Alexa app.
Alexa Controlled IoT Device – Coding
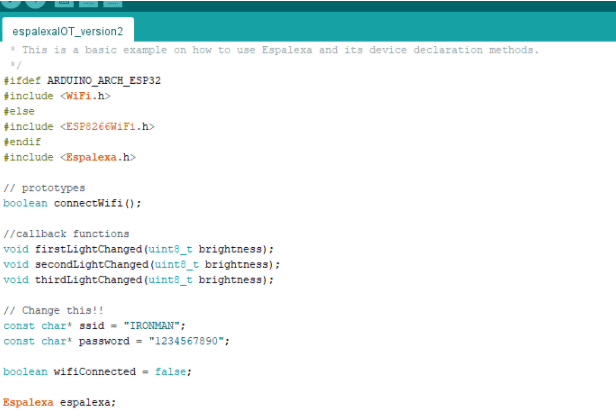
First, include the espalexa library in the code and then enter the WiFi name and password with which your Alexa device is connected. Next, select the GPIO 2 pin number on ESP8266-01 which will enable Alexa to control the appliances.

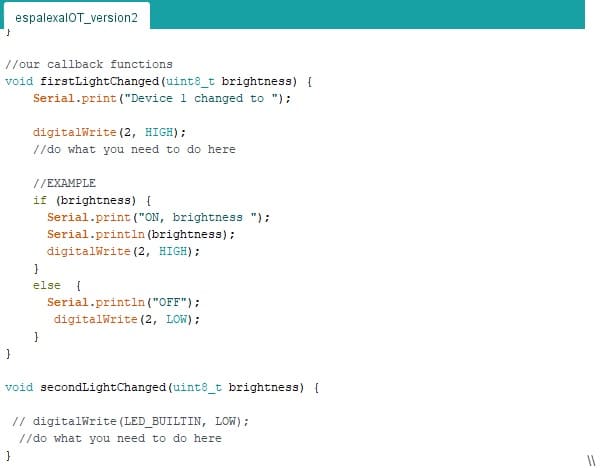
Next, set the GPIO output toggling function from 0 to 1 for controlling the lights and fans using Alexa.
Uploading the code
To upload the code, the module needs to be programmed using either an Arduino UNO or FTDI/ESP 8266 programmer module.
| Esp8266 | FTDI /ESP 8266 01 programmer |
| RX | TX |
| TX | RX |
| CHPD + VCC | 3.7 v |
| GPIO0 + GND | GND |
Alexa-Controlled IoT Device – Circuit Connection
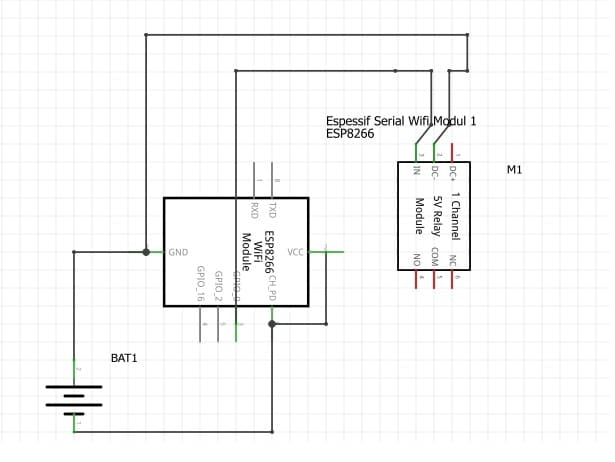
Connect the components as shown in the circuit diagram. Power the ESP module and relay with 3.3 V DC and 5 V DC respectively. Now connect the AC appliance to the relay module that needs to be controlled. The NO pin should connect with the live wire of the AC appliance. The COM pin should connect with the live AC wire while the neutral wire of the bulb should connect with the neutral wire of the AC socket.
Adding Device to Alexa
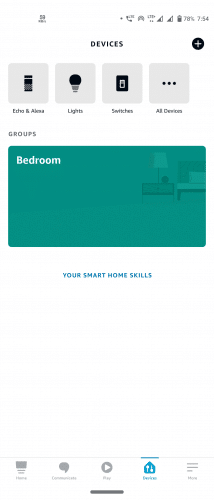
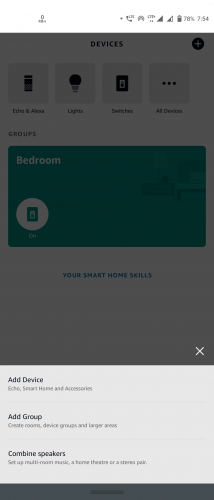
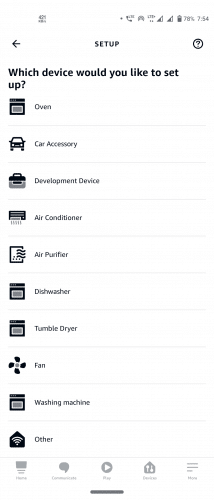
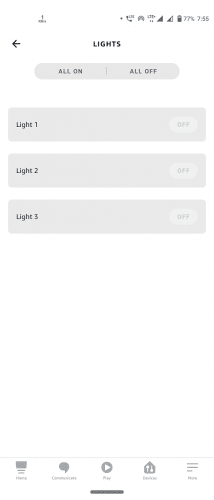
To add an IoT device to Alexa, open the Alexa app and go to Option → Add Device → select the device to be added and then let Alexa search for the new device in the network. After the search is completed, a list of devices to be connected is shown, for example, Light 1, Light 2, Light 3, and so on. Select them one by one and add them to Alexa. Now it is ready to control your IoT device(s).
Testing
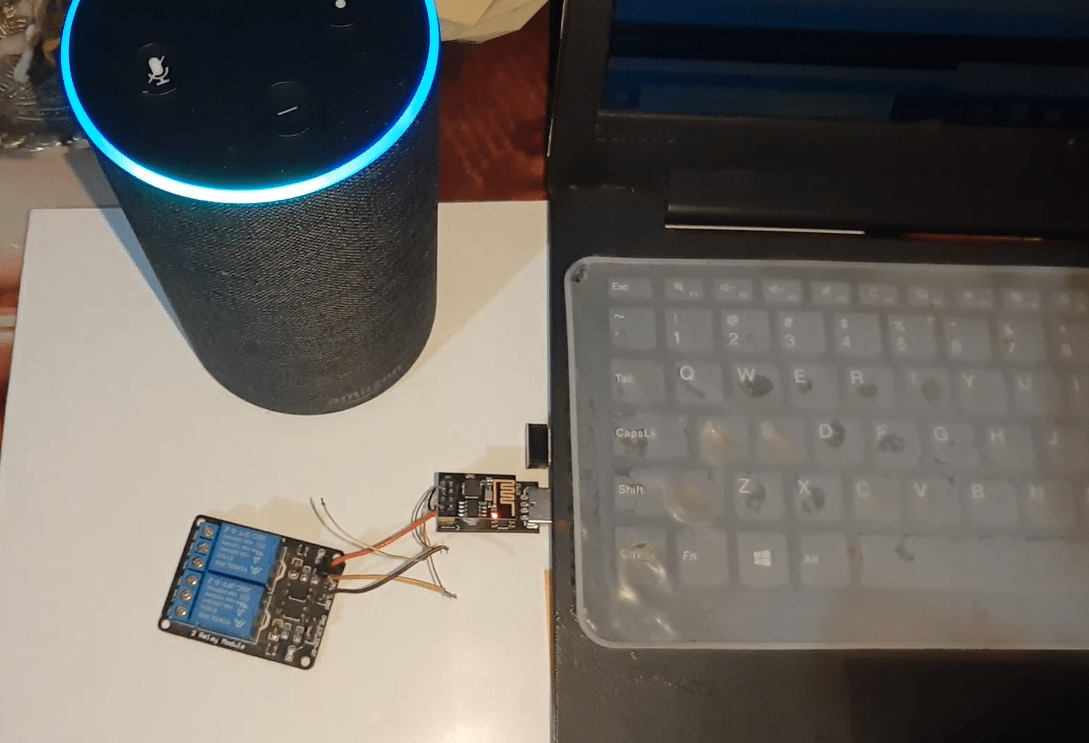
Power the device and say “Alexa, Light 1 band kar do” (“Alexa, switch Light 1 off“). Immediately, Alexa will switch off the light or the IoT appliance. You can also set custom commands and routines to the Alexa app such as “Good Night” so that Alexa turns off the device. Alternatively, you can also schedule Alexa to turn on and off a device based on a certain time of the day.
Congrats!! Your Alexa Controlled IoT device is now ready. Happy Hacking.


