
ChatGPT is one of the most famous and advanced AI tools today, widely known and frequently used. It can generate code, websites, pictures, and much more.
But can this powerful tool fit into a tiny device? Can it integrate with IoT sensors? Can it interface with electronic devices? This device aims to achieve this.
POC Video Tutorial In English
POC Video Tutorial In Hindi
You can make a smallest ChatGPT device that displays answers on an OLED when asked using either the web serial or USB serial. The device measures just 3cm, making it the smallest ChatGPT device. It provides quick assistance and can function as a cheating device.
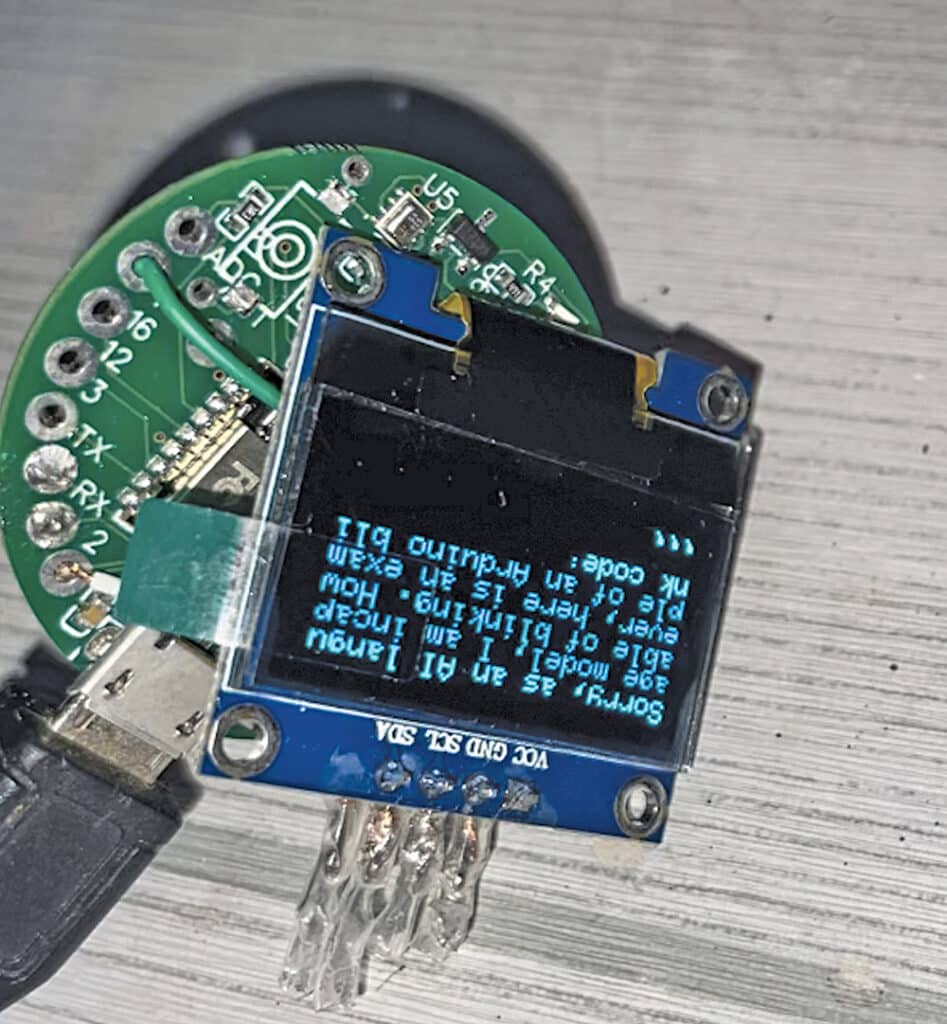
Fig. 1 shows the author’s prototype that works with WebSerial. The components needed for the device are listed in Bill of Materials table.
The IndusBoard is used to connect to wi-fi and ChatGPT API and host the web serial server. Questions can be asked using the WebSerial, and these are transferred to the ChatGPT API. The answer is then displayed on the OLED screen connected to the board.
| Bill of Materials | ||
| Components | Description | Quantity |
| IndusBoard | 3cm sized development board | 1 |
| Battery | 3.3V | 1 |
| OLED/LCD display | SSD1306/ GC9A01 | 1 |
Project Overview Video
Configuration
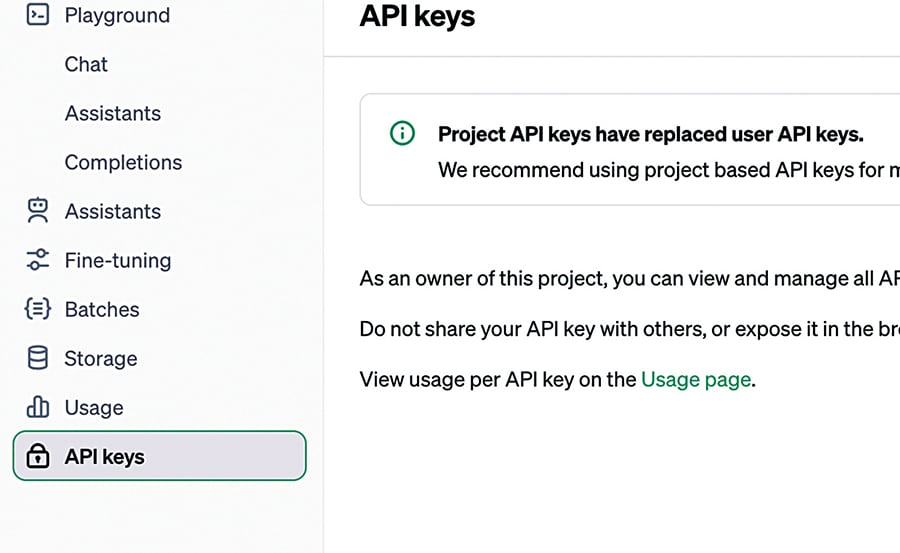
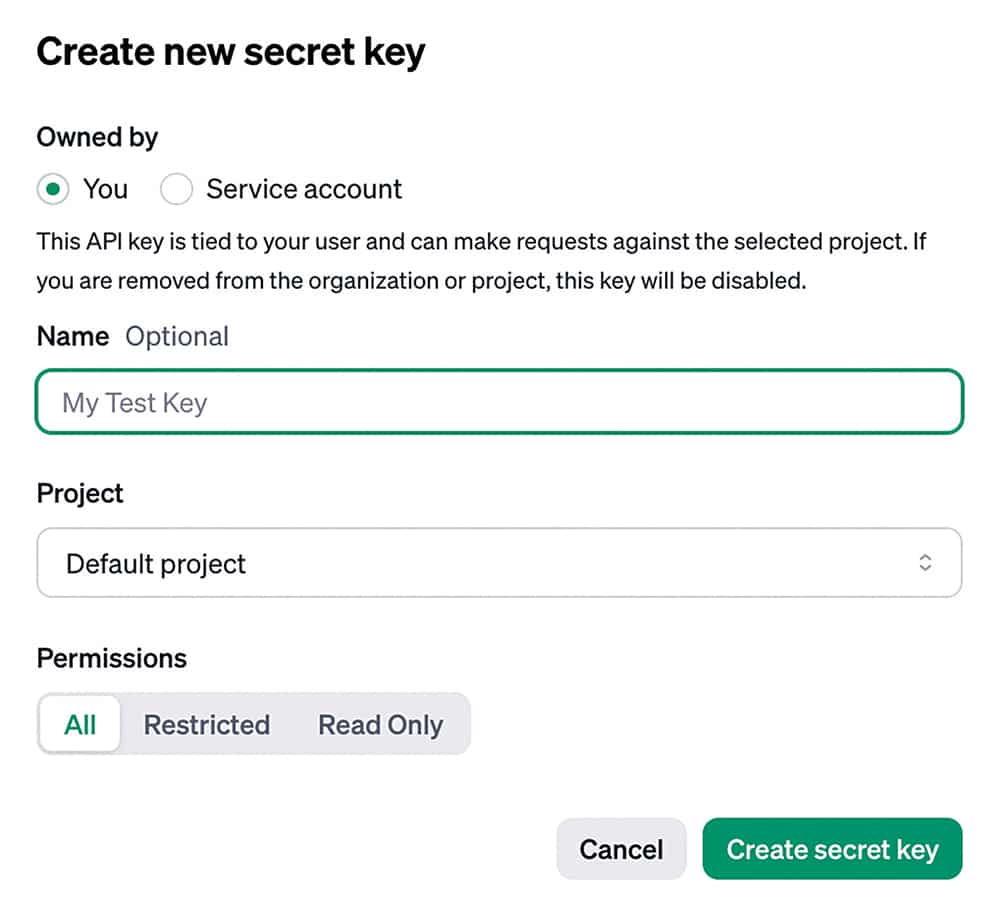
First, create the ChatGPT API using the OpenAI link https://openai.com/index/openai-api. Navigate to API keys and create a new API key. Save this key and do not share it with anyone. Add payment billing information to use the API. First-time users receive a $5 credit for free, so usage depends on whether the user is new or existing. Fig. 2 shows the API configuration, and Fig. 3 shows how to create a new key.
Next, install the ESP32 board in Arduino IDE, and then install the U8g2 library and ChatGPT library in the IDE. Download the source code with the article and configure it.
In the first part, change the SSID and password for the wi-fi network. Either home router wi-fi credentials or a phone wi-fi hotspot can be used. Fig. 4 shows the code configuration for wi-fi.

EFY note: It works on a 2.4GHz wi-fi network, so use the same wi-fi network during router configuration.
Next, configure the API in the code by replacing the old API with the new one created (see Fig. 4). Fig. 5 shows the configuration of the API.
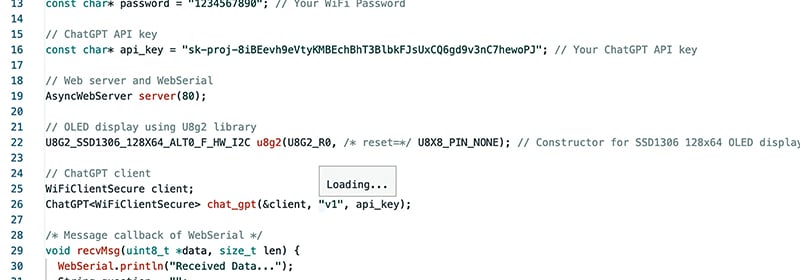
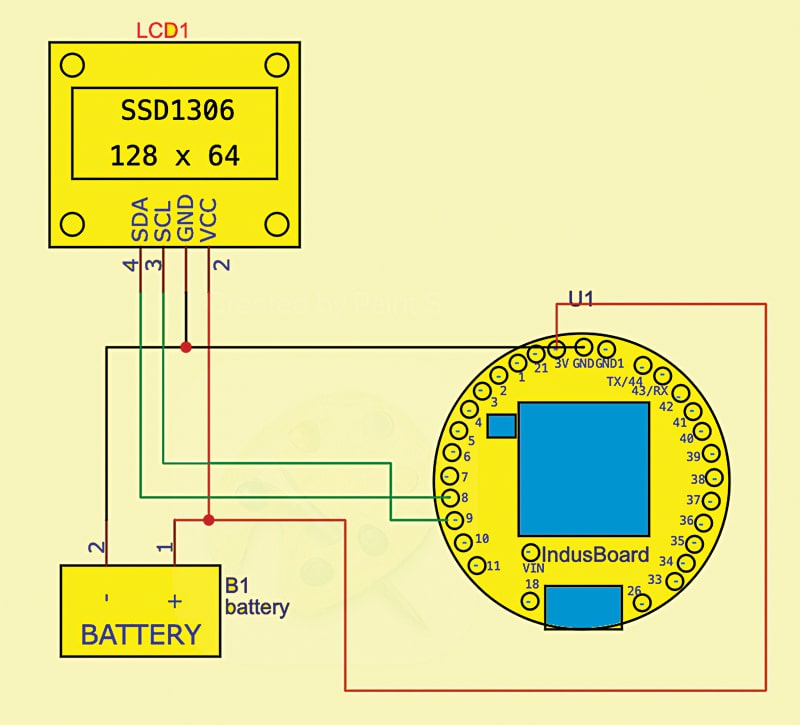
Fig. 6 shows the circuit diagram of the micro-sized ChatGPT cheating device. It is built around the IndusBoard, OLED display, and 3.3V battery. The OLED is connected with the IndusBoard I2C pins, defaulting to 8 and 9. The entire device is powered using the 3.3V battery and GND pin.
Testing Smallest ChatGPT Device
After uploading the source code to the IndusBoard and connecting the circuit as shown in the diagram, power the circuit. Once powered, the device will connect to wi-fi and display the IP address on the OLED. Search the address IPaddress/webserial in the web browser to open the WebSerial.
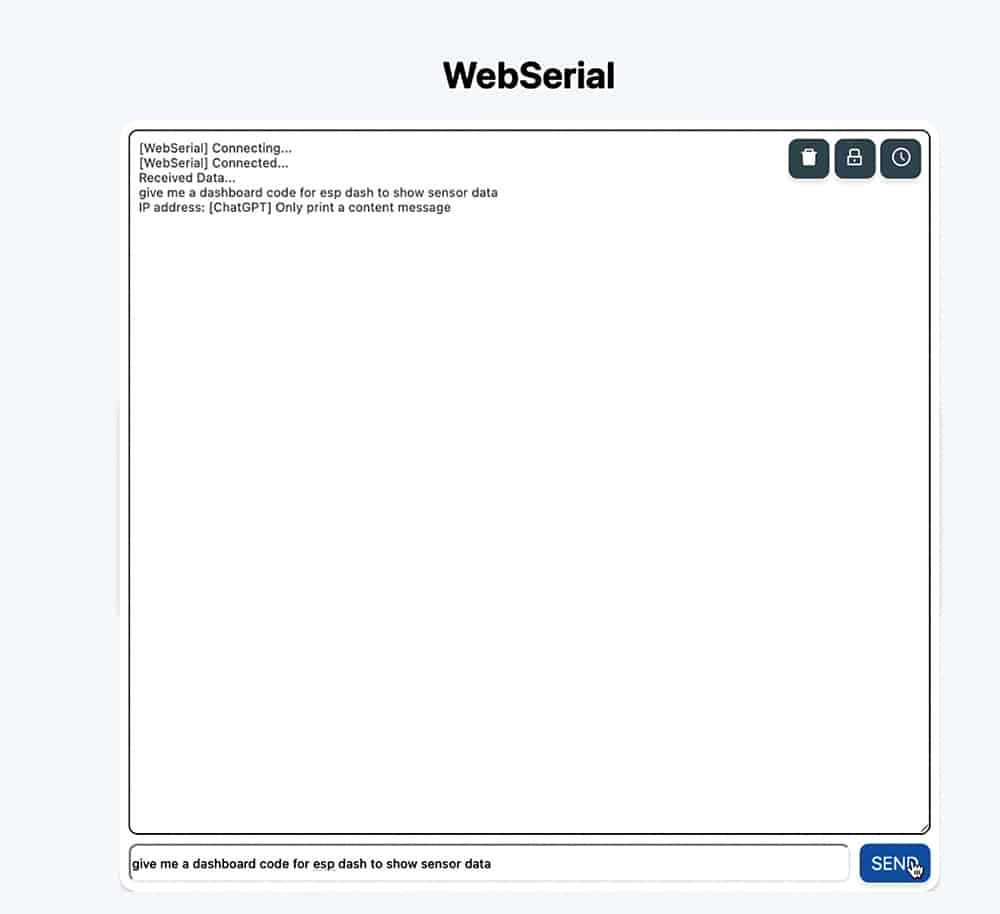
Ask any question on ChatGPT, and the answer will be sent and displayed on the OLED screen fitted on the IndusBoard. The person wearing the watch will see the answer on the OLED display. Fig. 7 shows the questions on WebSerial.
Ashwini Kumar Sinha, an IoT and AI enthusiast, is a tech journalist at EFY


