 Do you miss listening to the radio from the old FM radio box? As much as phones have integrated many applications in them, not all channels of the FM radio can be heard on them. This is mainly due to the external antenna which is absent on phones nowadays.
This DIY is a modern FM radio design that can be controlled on the phone over wifi. The size of this radio is so tiny that it can even fit in our pockets.
The components shown in the Bill of Material table are needed for our project.
Bill of Material

Prerequisite
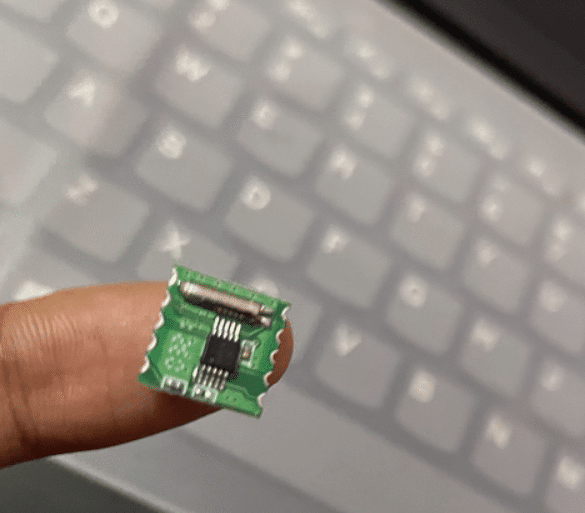
The Arduino IDE is used to program the ESP, hence the ESP board should first be installed onto the Arduino. The WEB UI is used to control the FM radio. EASY UI library gives us the option to easily create the WEB UI. To use the FM radio chip(RDA580M), the appropriate radio library is installed.
Also Read: Simple FM Receiver Circuit
Smallest Digital FM Radio Receiver – Coding
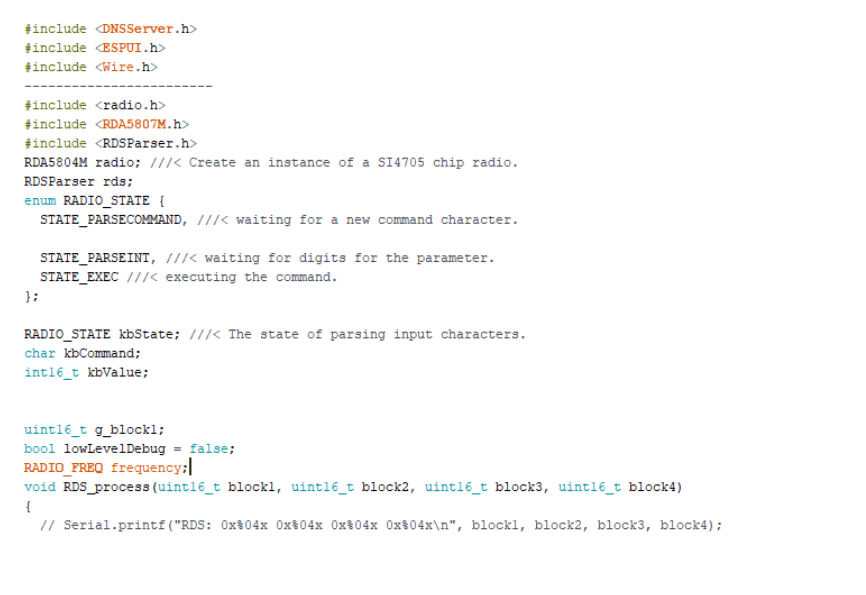
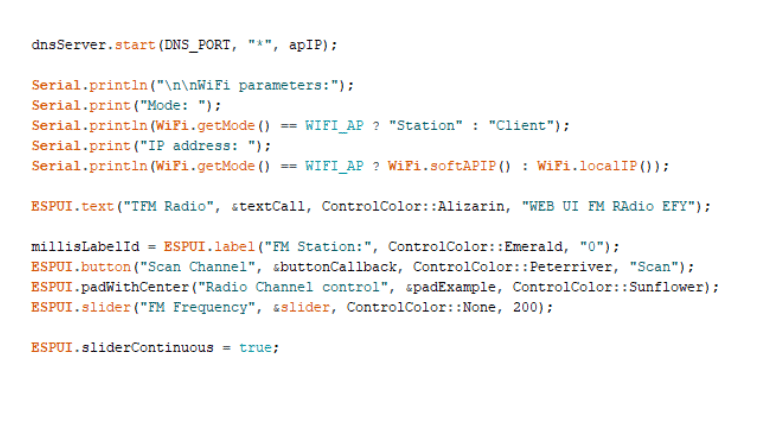
After the installations, all the libraries(UI and radio) are included to be used via WiFi. The RD5804M chip is set as an instance in the code and the UI parts are added. Five blocks are used here to control the switching, while one center block is used to scan the available FM channels. A slider is needed in UI for changes in volume and also to tune the radio frequency. A text box is also needed to display the current FM channel that is being listened to. Now the frequency has to be set up for the radio chip. In simple words, the FM channel should be changed to the next available channel when the left/right buttons are touched/clicked. Similarly, the functions for each button have to be assigned.
DIY Digital FM Radio Receiver – Circuit Connection
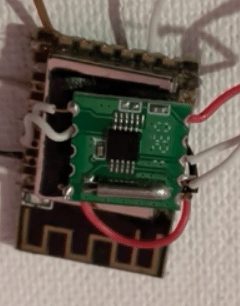
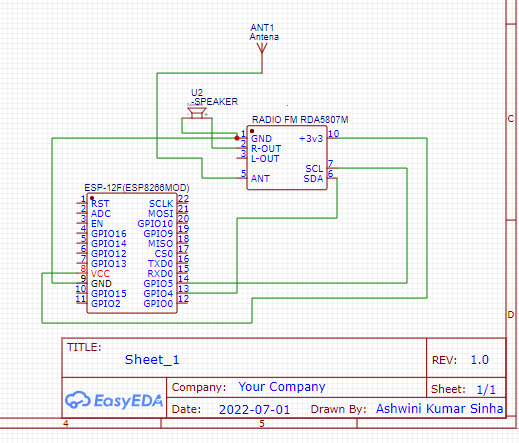
Connect the RD 5804 M chip with the ESP and other components as shown in figure 2.
Testing
The ESP will be connected to the phone/laptop’s internet connection automatically. If not, the ESP itself connects to the phone/laptop. In a browser enter the following IP address.
192.168.4.1
The UI to control the FM radio would be displayed on your device. Upon touching/clicking the ‘scan’ option, all the available FM stations would be scanned. As shown in Figure 3, the relevant channel can be selected and the volume can be set accordingly. Enjoy listening to the radio while carrying it in your pocket.


“Connection
Connect the RD 5804 M chip with the ESP and other components as shown in figure 2.”
The IC number should be RDA5807M and not RD 5804 M
What is the power consumption of RDA5807M and ESP8266 during normal operation? Is it possible to put ESP8266 under deep sleep after successful tuning?
Yes . Updated