 As you may already know, using a USB OTG (on-the-go) adaptor, you can connect pen drives, game controllers, etc to your Android device. This adaptor can also be used to power small devices like Arduino boards from Android devices.
However, given the processing power of today’s Android mobile devices, these could be used to do much more than just powering up Arduino prototypes. Realising this, Anton Smirnov created a full-fledged Arduino IDE for Android. Called ArduinoDroid, it has features almost identical to those of IDEs available for PC, and even better in some cases. This article explains how you can program an Arduino board using ArduinoDroid app on your Android device like a smartphone or tablet.
Requirements
To get started, you need an Arduino board, an Android phone that supports USB OTG and has ArduinoDroid app installed on it, and OTG cable. Most of the necessary features like open/edit Arduino sketches, libraries and example sketches, code syntax highlighting, compile sketches and upload sketches are available in the free version of ArduinoDroid app. But if you don’t want advertisement banners, colour themes and non-essential features like dropbox support, smart engine and smart keyboard, the paid version is the way to go.
Interface
Interface is pretty clean, not cluttered with tabs and buttons. Top row consists of icons of essential features like save, compile, download and console (serial monitor) as shown in Fig. 1. Then around 50 per cent of the screen area is allocated to Editor and Navigator on the upper side and Diagnostics and Output windows on the bottom side.

How it works
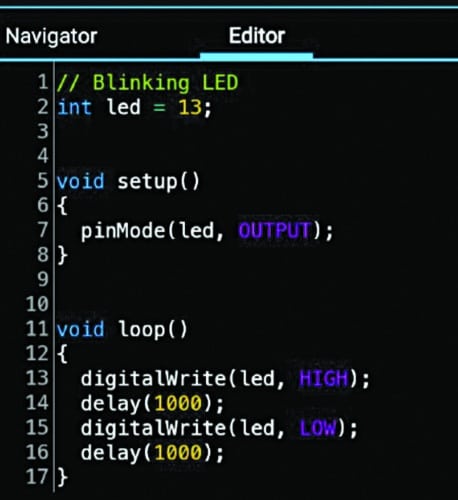
Write/modify your desired sketch in the Editor section as shown in Fig. 2.

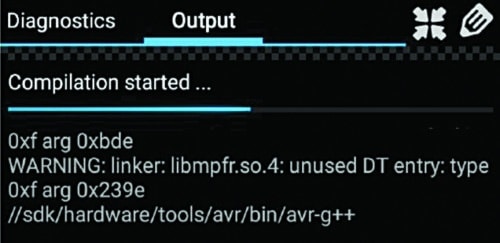
Compile it by pressing the icon next to save icon. Wait for a while, it might take some time, depending on your sketch and the mobile device. Then check the output section at the bottom for any error/warning as shown in Fig. 3.

If there is no error, you can upload your sketch on the Arduino board.
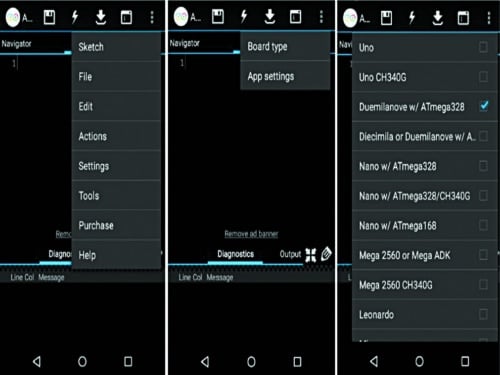
Connect Arduino to your mobile device using USB OTG. Select the desired board from the options under SettingsBoard type (as shown in Fig. 4, where Arduino Duemilanove with ATmega328 option is selected).

Now click ‘Upload’ to upload the sketch into Arduino.


Hi – thank you so much for electronicsforu – what a great resource!
In my country (Australia) I deal with more ios devices than android.
Is it possible for you to do some cross platform solutions?
Thanks again
Regards
Tim
That great I have got a big platform on you have nice day
Return code is not 0
I cannot fix this problem