 We designed a smart sound localization system using Raspberry Pi that is able to find the source of sound and will localize and visualize it.
Sound localization is the ability to determine the location of a sound source based on the sound waves that reach the ear. It is a fundamental aspect of auditory perception and is important for orienting ourselves in the environment and for interacting with others.
Sound imaging, on the other hand, refers to the creation of a mental image of the location and spatial characteristics of sounds in the environment. It involves the brain integrating information from both ears and using cues such as the intensity, timing, and frequency of the sound waves to build a mental map of the location and characteristics of the sound sources.
Sound localization can be used in many ways to get people stuck in a flood or were using source sound localization or making the smart robot follow a particular sound to capture animal or footage or in an audio-based research system.
Sound localization is now used to detect drones and shoot them in the sky based on sound localization and tracking system

Bill of Materials
| Components | Quantity | Description | Price Approx |
| Raspberry Pi 4 | 1 | 1Gb or 2 GB or | 4000 |
| MIC Array | 1 | 4mic /6 mics array Respeaker / Sipeed | 5000 |
| 5V Power Adapter | 1 | Power supply for raspberry pi | 100 |
| Total | 9000 |
Sound Localization System – Code
First, install the mic array driver for the mic array you are using; it changes with the driver and mic array model and vendors, they provide you the details for that, or install the driver provided with the instruction by them.
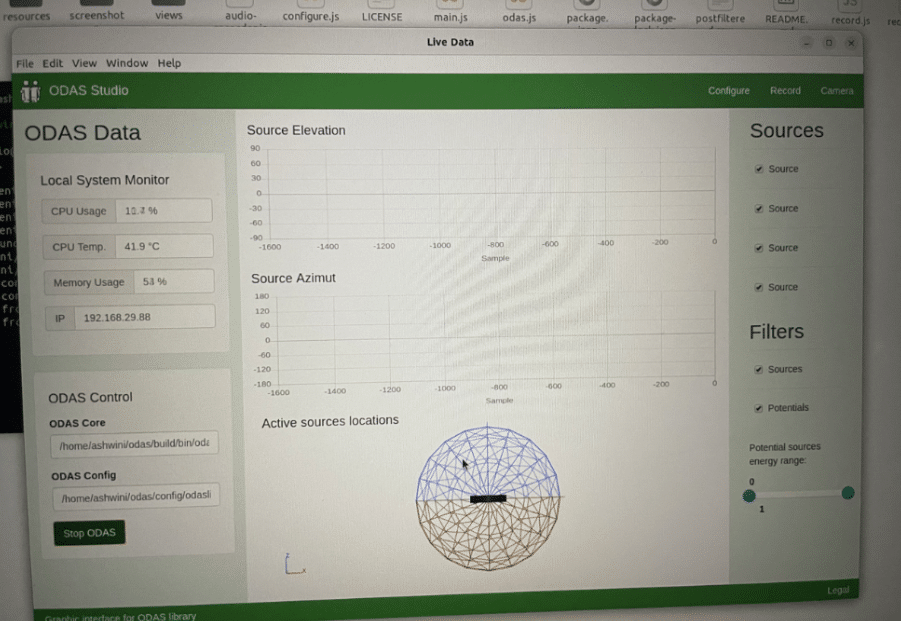
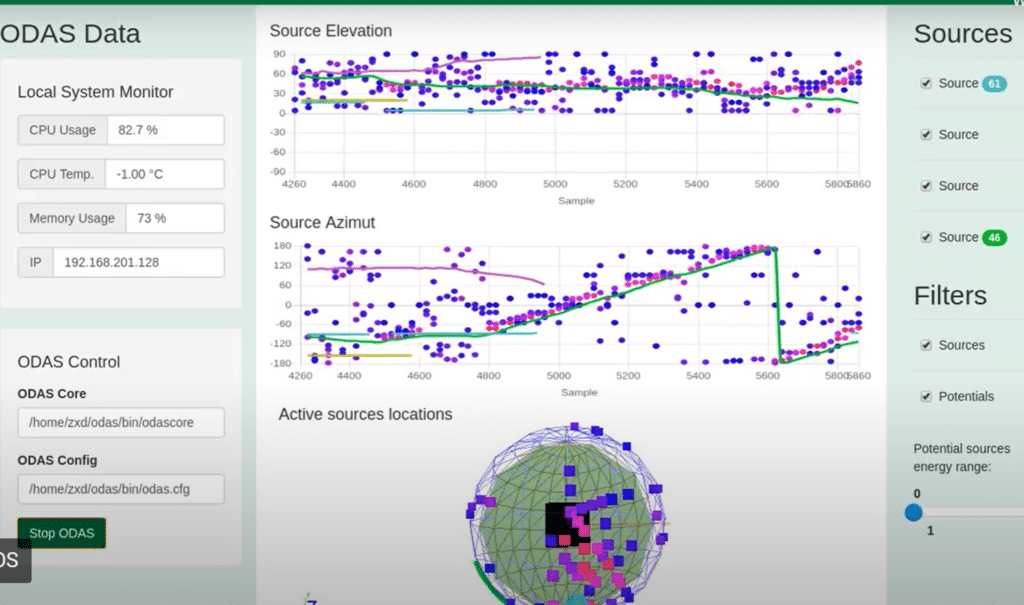
For 3D sound localization and visualization, the ODAS studio is used; it runs the algorithm and analyzes the sound waves, and gives you 3d data of sound.
The ODAS depends on node js so we need to install that open terminal and then run the command.
sudo apt install curl
curl -sL https://deb.nodesource.com/setup_8.x | sudo -E bash -
sudo apt install nodejs
Now install the ODAS by running the following in the terminal.
sudo apt-get install libfftw3-dev
sudo apt-get install libconfig-dev
sudo apt-get install libasound2-dev
git clone https://github.com/introlab/odas.git
cd odas
mkdir build
cd build
cmake ../
make
git clone https://github.com/introlab/odas_web
npm install
Now we need to set the mic array and then you can start the ODAS and do configuration according to the mic array. If you have 6 mic array or 4 mics array, then configure accordingly, then start the odas using the following command.
Now you can see the ODAS GUI.
npm start

Sound Source Localization System Working
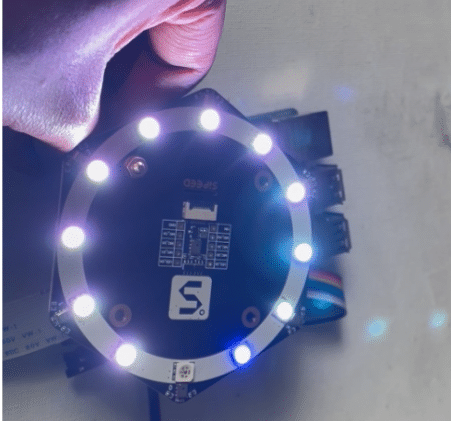
Now place the Mic array board on raspberry pi GPIO and connect them, then select the config file in ODAS GUI and click on start now; it starts showing the live data in 3D globe from where the sound is coming. On the MIC array if your mic array has LED, then it will glow according to the direction and intensity of the sound source.

You can check this to understand more about the sound source localization system.


Is this opensource?
Yes