


 Raspberry Pi is a small credit-card sized computer capable of performing various functionalities. It is heavily used in surveillance systems, military applications, etc. Several generations of Raspberry Pi’s have been released till date. The first generation (R Pi 1) was released in February 2012 in basic model A and a higher specification model B. A+ and B+ models were released a year later. Raspberry Pi 2 model B was released in February 2015 and Raspberry Pi 3 model B in February 2016.
Building a web server using raspberry pi 2
Here we are using Raspberry Pi 2 B model to design a web server. It is an ARM CORTEX A-7, small sized open source CPU with 1GB RAM and supports 900 MHz processing speed. We also have four USB 2.0 ports, one ethernet port, DSI display connector, CSI port for camera, HDMI port, 4 pole 3.5 mm jack and 40 pin GPIO header.
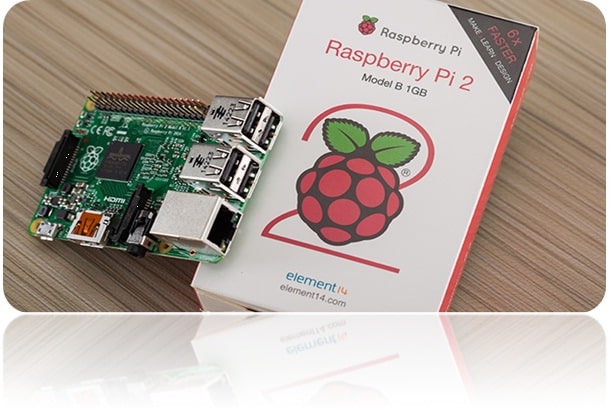 Fig.1: Raspberry pi 2B model

The main aim behind this concept is to control a vehicle through web-page.
OS installation:
1. Download Raspbian OS from (www.raspberrypi.org)
2. Download software Win32DiskImager for windows PC.
3. After installing software, insert SD card (ideal 8 GB, class 4) with adapter into SD card slot of PC.
4. Run the software WIN32DiskImager, browse for the image file which we have downloaded and click on write option for installing OS.
5. After finishing, you will be ready with OS on SD card.

Setting and Login into Raspberry Pi:
1. Mount SD card into slot RPi 2 development board
2. Connect USB keyboard and mouse to RPi 2 development board.
3. Connect monitor to RPi2 through HDMI cable.
4. Plug Micro USB power supply and turn it ON and booting will start.
5. After booting, login with:
a. Username – pi
b. Password – raspberry
6. To load GUI, type ‘startx’ and then press enter.
Controlling the vehicle
We have now successfully installed OS on our RPi 2 development board. Now we design a vehicle on which we are going to mount our RPi 2 development board with camera interfaced to it. Vehicle is a chassis along with 2 wheels and a single caster wheel. L293D IC is used as a driver circuit which we used to drive DC motors. These DC motors are used to rotate the wheels. We are controlling this DC motors through web-page, so that we can control our vehicle in forward, backward, left and right direction by making DC motor input configurations.
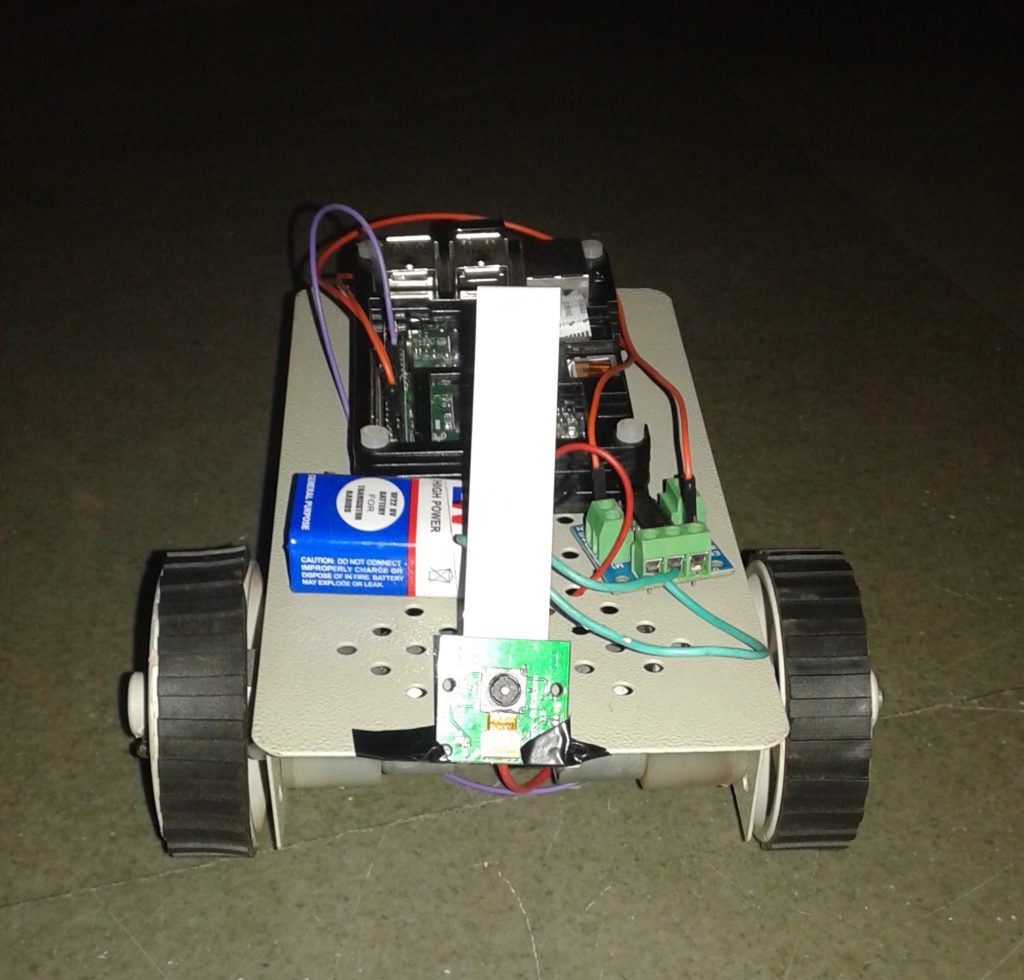 Fig.2: Robot assembly
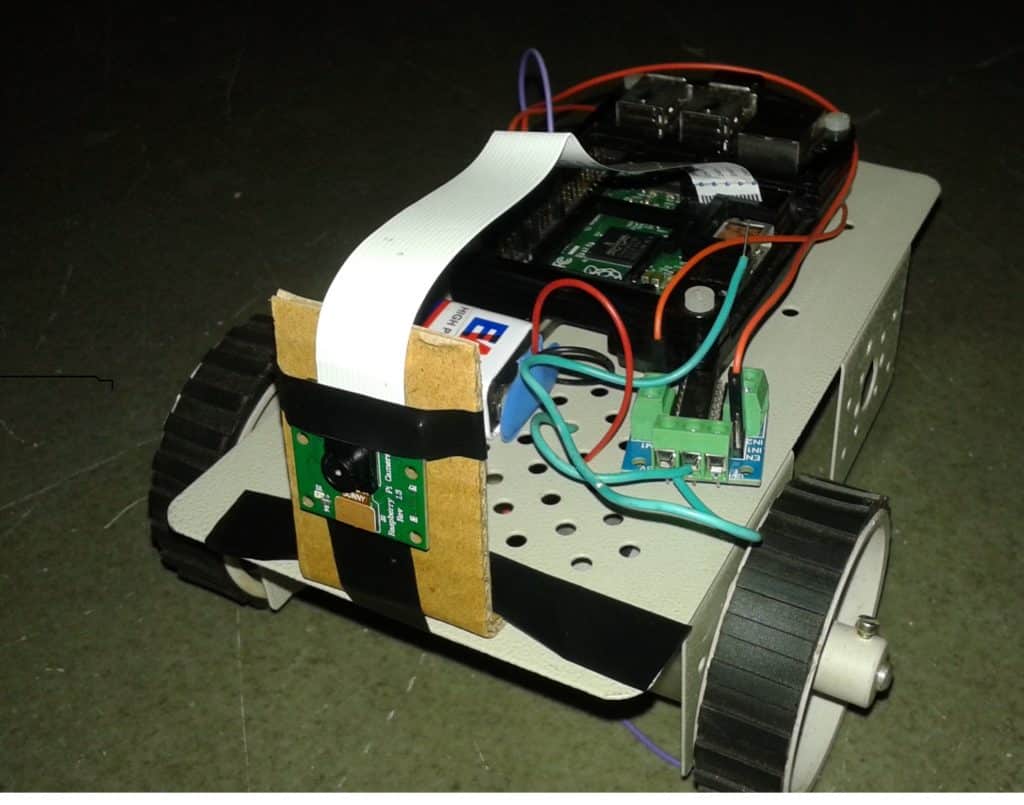 Fig.3: Robot with camera
HTML and PHP languages are used to make web-page and to control the DC motors respectively. Before it, we have to install Apache, PHP and MySQL. Apache is a freely available web-server that is distributed under an “open source” license while PHP is a server-side scripting language designed for web development but also used as a general purpose programming language. MySQL is a popular choice of database for use in web applications, and is central component of the widely used LAMP (Linux Apache) open-source web application software stack. You can follow the steps given below:
Web-Server installation:
Part 1 – Run software updates
Keep your firmware up-to-date
Commands:
sudo apt-get install ca-certificates
sudo apt-get install git-core
sudo wget https://raw.github.com/Hexxeh/rpi-update/master/rpi-update -0 /user/bin/rpi-update && sudo chmod +x /user/bin/rpi-update
sudo rpi-update
sudo shutdown –r now
Part 2 – Installing Apache server and PHP libraries for connecting RPi2 to internet
1. To install Apache and PHP, execute:
sudo apt-get install apache2 php5 libapache2-mod-php5
2. Now restart the device
sudo service apache2 restart
OR
sudo /etc/init.d/apache2 restart
3. Enter IP address of your Raspberry Pi 2 development board into your web browser. You should see a simple page that says, “It works!”
Part 3 – Install MySQL for database of inputs to DC motors
To install MySQL, install a few packages
sudo apt-get install mysql-server mysql-client php5-mysql
Part 4 – Install FTP for compatibility with MySQL
1. Take ownership of web root
sudo chown –R pi /var/www
2. Install vsftpd
sudo apt-get install vsftpd
3. Edit your vsftpd.conf file
sudo nano /etc/vsftpd.conf
4. Make following changes:
A. anonymous_enable = Yes to anonymous_enable = No
B. Uncomment local_enable = Yes and write_enable = Yes by deleting the # symbol in front of each line
C. Then go to the bottom of file and add force_dot_files = Yes
5. Now save and exit by entering ctrl+o and ctrl+x resp.
6. Now restart vsftpd
sudo service vsftpd restart
Part 5 – Install Wiring pi for accessing GPIO
1. You can install it with:
sudo apt-get install git-core
2. Update your Raspbian with latest versions
sudo apt-get update
sudo apt-get upgrade
3. To obtain WiringPi using GIT:
git clone
git: //git.drogon.net/WiringPi
4. If you have already used the clone operation for the first time, then
cd WiringPi
git pull origin
5. To build/install there is a new simplified script:
cd wiringPi
. /build
6. Test wiringPi installations by running the gpio command
gpio –v
gpio readall
Wi-fi configuration:
It is necessary to configure the wi-fi network to the RPi 2 development board. As we are controlling our vehicle through web-page, our development board must be connected to the internet through wi-fi, Ethernet, hotspot, etc. To make our development board able to support wi-fi, we have to do some installations and configurations with RPi2. Here we used a EDIMAX nano USB adapter as a wi-fi dongle. It is supportable to RPi2. Follow the steps given below for configurations:
1. You can install it with:
sudo apt-get install
The general network settings are configured in “ /etc/network/interfaces” while the wifi details are set in “ /etc/wpa_supplicant/wpa_supplicant.conf ” file.
2. Edit the interfaces file
sudo nano /etc/network/interfaces
Ensure that the section about wlan0:
Allow – hotplug wlan0
iface wlan0 inet manual
wpa – roam /etc/wpa_supplicant/wpa_supplicant.conf
iface default inet dhcp
If there are differences, then change them to accordingly.
3. To get the list of currently available wireless network,
sudo iwlist wlan0 scan
4. Pick the network and add the network authentication information in the “wpa_supplicant .conf “file
sudo nano /etc/wpa_supplicant/wpa_supplicant.conf
The first two lines should already be ready:
I. ctrl_interface=DIR = /var/run/wpa_supplicant GROUP=netdev
II. update_config=1
Now add the following:
Network={
ssid=”Your SSID”
psk=”passward”
key_mgmt=WPA-PSK
}
5. Press ctrl+x to exit nano and save the file.
6. Reboot your Pi
sudo reboot
7. After booting you can check the status of wireless connection using
iwconfig
After this installation you have your RPi2 development board with internet connection. The output of all these installations is a webpage with some buttons indicating actions of vehicle i.e. forward, backward, left, right and stop as mentioned above. We can browse this web-page by entering RPi 2 development board’s static IP address in browser.
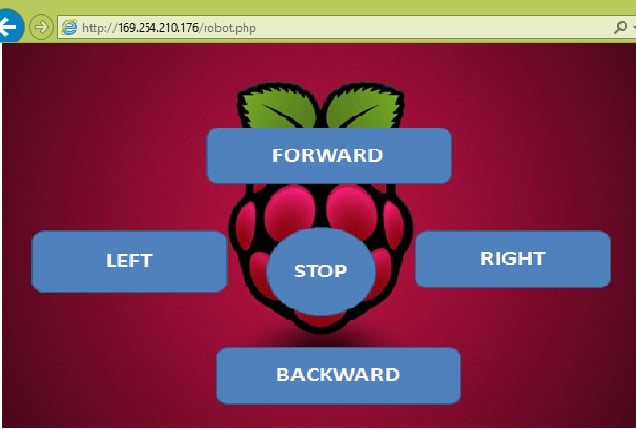 Fig 4: Webpage through which we are controlling our robot
Raspberry Pi 2 development board supports for the real-time applications. This above article explains one of the applications that we had worked on it. By making use of Apache, PHP and MySQL, we are able to control our vehicle through web-page.
Future advancement:
It is possible to do video streaming for real time video monitoring on the same webpage by interfacing a camera (CSI port camera or USB port camera) to the RPi2 development board.
