 “A wall with no sockets and power outlets but still can provide power – welcome to the future of powering smart home systems“
Recently, while designing an IoT tag that can be powered wirelessly, I thought about the possibility of building walls having no electrical outlets that can supply electric power to various appliances. The idea I thought of will allow the transfer of electric power to a device wirelessly when required. Since there will be no need for any electrical sockets or wires, one can simply place an electric device near a wall for powering it up – like magic.
Imagine a fancy wall that appears plain on the outside but carries a unique technology within itself. Not only will it allow a smart LED bulb or a TV to work perfectly, but will also charge a smartphone with ease. And with the absence of electrical sockets, the hazards associated with electric short-circuits and shocks will be eliminated. This concept of this wireless tile technology could be the future of luxurious smart homes where all devices get powered wirelessly with utmost convenience.
Sounds cool!!?? So let’s develop a Wireless Power Transfer prototype of this wireless tile known as Smart PowerTile.



Bill of Material
Collect the following components for the project. 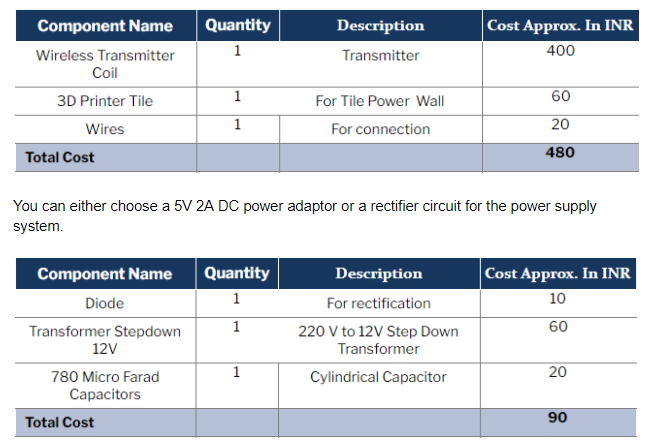
Designing The PowerTile
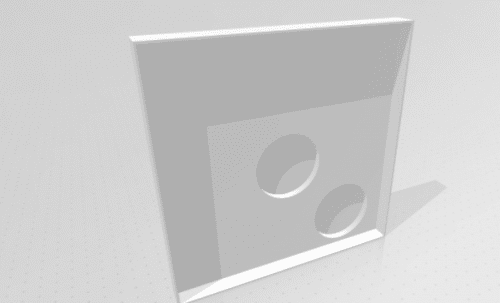
Begin by designing a tile of the desired size. Here, I have made an 8×8 sized tile. Then insert a shell-type structure into the tile to accommodate a wireless power transmission coil. Because a coil transmitter can transmit power only up to a few millimeters, strengthen the tile design such that there is a thin plastic layer of around 0.1 mm for correct power transmission.
Note:- This is a basic tile design. A new tile design that requires no wiring and acts as a conductor pipe for the power source will be introduced soon.


Connection
Use a 5V 2A or 12 V 2A power adaptor, or create a rectifier circuit as shown in the circuit diagram. Then connect the input wire of a wireless transmitter module to the rectifier or DC adaptor.
Remember, +ve wire connects to rectifier +ve and -ve wire to rectifier -ve.
Embedding Circuits In PowerTile
Now, 3D print your PowerTile design.
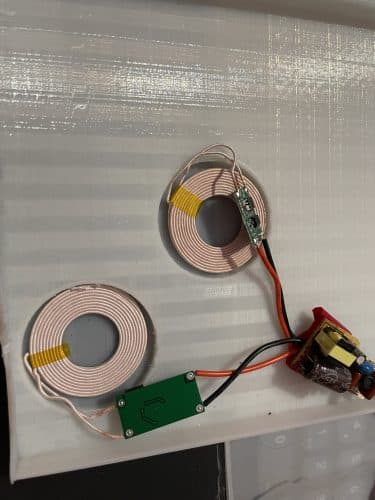
After that, put the coil of the wireless transmitter circuit, relevant components and electric circuitry in the tile cavity (see below fig.).
Then place the wire near the bottom of the tile for connecting the power source. This wire gets connected from behind the tile, similar to connected fans or lights in an under wall wiring system.
Making The PowerTile MagSafe
For the devices to automatically align to the PowerTile and get powered up (similar to how a MagSafe charger sticks to an Apple iPhone 12), place a magnet in the middle of each coil in the tile. The wireless power device should also consist of the same magnet but with opposite poles for quick attachment to the wall.

Testing
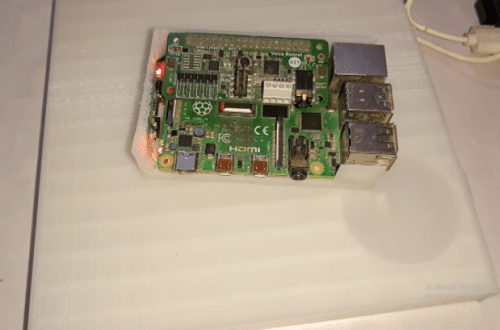
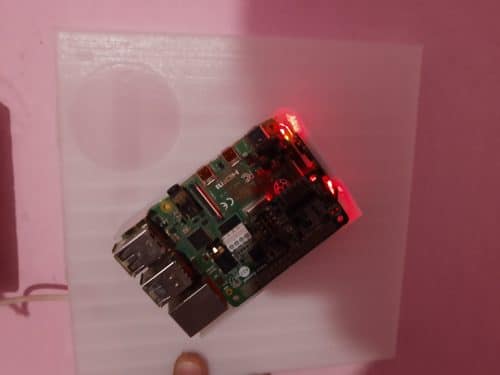



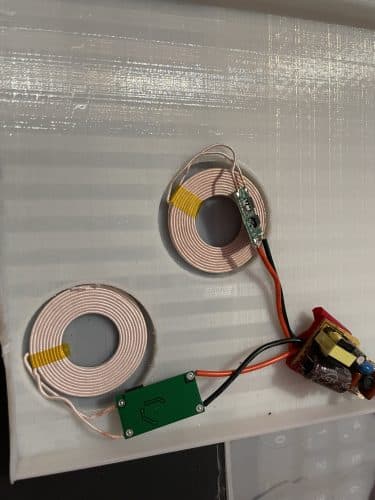
After fixing the PowerTile into the wall, power it with an AC supply. Now, whenever you want to charge your smartphone or operate any electronic/electric device, simply place it near the PowerTile. The device will automatically stick to the wall and get powered wirelessly without any socket.
Congrats!! You have successfully made an innovative device called Smart PowerTile.


